Friday, August 26, 2011

"Welcome to the Beach" Nautical Mirror

On a recent trip this spring to Home Goods inspired me to craft up this
"Welcome to the Beach" Nautical Mirror
Here's how I did it.
We had an extra piece of bead-board paneling in the garage.
 I traced a circle.
 My circle came from an old decorator's table top (found this in the garage too!)
 Taped around my circle to prevent the wood from splitting when I cut it.
 Cut the circle out with MY jigsaw (yes-mine! got it for Christmas a couple years back)
Love the great photography work by my husband!
 Drilled a hole in the middle of my cut circle and then cut another circle.
 The first stage of my mirror-complete.
 My next steps I used the following supplies:

  • thick rope (found at Home Depot)
  • a mirror (Hobby Lobby)
  • Gorilla Glue
  • blue paint ( $.99 craft paint)
  • sand paper
  • stencil made from my Silhouette.
 Here's a rough draft of how I wanted my lettering to look.
 I created a stencil on vinyl and stuck them into place.
 Paint. Remove stencil. Lightly sand to give it the distressed look.
Add some thick jute rope around the edge.
Finished the back by hanging a picture hook.
Here's my completed "Welcome to the Beach" Nautical Mirror
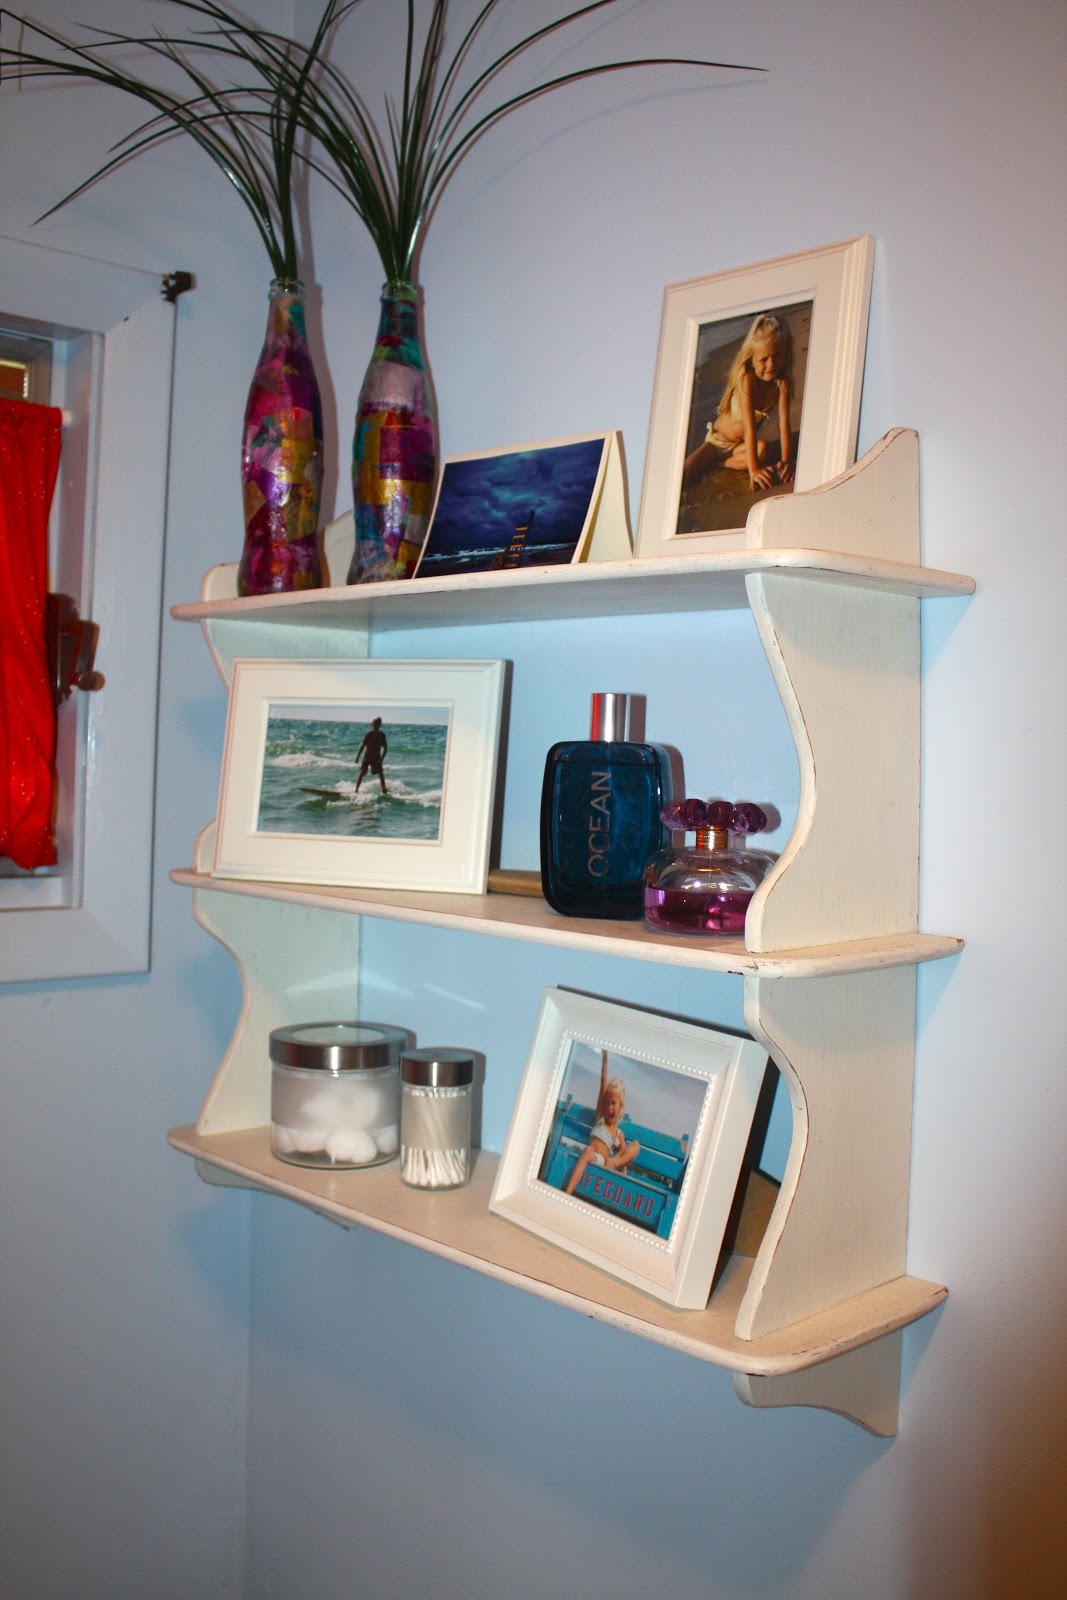
The mirror hangs in the back hallway of the cottage.

Saturday, August 20, 2011

Cottage Hallway & Back Porch

It's been a quick tour, only 650 square feet in our tiny little cottage. 
 Last but the not least, the back hallway and porch. 
BEFORE:
AFTER:
We just did a couple things in the hallway-first we painted it all white.
Added the B E A C H hooks purchased from Hobby Lobby and a couple other accessories:
 Sunset silhouettes:
 The top is my daughter Sidney with her best friend. 
The bottom picture is of my siblings & cousins when we were younger.
 I made this nautical beach mirror, experimenting with a stencil made from my Silhouette and some leftover paneling from a project at home. Tutorial in my next blog post.
Head through the back door and onto the porch.
 I found this rug at IKEA and painted on some fish.
We had an outdoor shower built last summer. A great way to keep most of the sand out of the house!
We've got several hooks for bathing suits and towels.
I found this sign with the hooks and it said something like "Let's go fishing." 
I decided to sand it down, paint it and add my own beach phrase
It's perfect for the Beach Brush (made by my daughter & niece) 
and wooden fish on a rope (something I crafted up from some leftover wood).


Tuesday, August 16, 2011

Cottage Bathroom

This is the second to last stop on our tour of my little cottage. The bathroom.
BEFORE:
AFTER:
One day this summer I replaced the floor. I could stand it no more. 
So I peeled off the old squares and put down new peel and stick. Such a easy updated fix!
 In case you ever wonder where we are:
 I picked up this old shelf off the street. Literally.
I wiped it down and sanded it a bit.
Perfectly shabby-chic.
I found the shower curtain (and a matching bath mat) at Target, on clearance! 
I made the window treatment and skirt for under the sink.
One more cottage post. Then it's time to close this place up and head back to reality.

Friday, August 12, 2011

Scrap Wood Sign

I had this song running through my head one day.

This is your time
This is your dance
Live every moment
Leave nothing to chance
Swim in the Sea
Drink of the Deep
Embrace the Mystery of all you can be.

It inspired me to create a piece of art work for the bunk room in the cottage.
I started out with some random pieces of scrap wood. 
I cut some of them down a bit and sanded the rough edges.
Using some craft paints I already had,
 I painted each board allowing the woodgrain to show through.
The colors I chose were intentional. 
 With chalk I wrote the lyrics out, freehand.
I painted directly over the chalk with this white enamel paint. 
"E" for Enamel. 
It gave it a little bit of a glossy look that I really liked. I added a little brown paint to make it look "worn."
I screwed in eye hooks at the top. And tied some white rope at each end.
 My scrap wood sign is a gentle reminder to my kids to 
"live every moment" and "drink in the deep." Ahh summer!

The Bunk Room

It has always been a dream of mine to have a cottage of our own. God is so good...and sometimes dreams do come true! With three kids and two adults we had to figure out a way to sleep all of us in this tiny 2-bedroom place. 
We found a great set of inexpensive bunk beds from IKEA that just fit into the space. 
Here are my Swedish carpenters putting one of the bunks together.
So not only can we have all three kids in there, 
we have an extra bed for the occassional sleep-over guest!
I was inspired by some linens I found at Target last spring.
The throw pillows were seasonal napkins and the duvet covers I made from sheets.

I know... you need to see the BEFORE:
This room was used as the "master" because it was the bigger of the two rooms. 
The only choice for housing two bunk beds.  
AFTER:
 I have to admit that I took this picture last summer after I had made the beds up so nicely.
It never looks like this...Oh well.
The only other additions are the pallet shelves that hang over each bed and the scrap wood sign.
For the summer, I only allow the kids to bring whatever can fit in the shelf.
What more do they need besides a book and a swim suit!

Saturday, August 6, 2011

Cottage "Master" Bedroom

Like the rest of the cottage rooms, the "master" bedroom has come a long way. 
And I use the term "master" very loosely. 
This bedroom use to house just one single bed. With three sides of that bed touching a wall! 
And we now have managed to fit a queen size bed in the room. 
As well as a dresser and small bedside table. 
BEFORE:
We didn't do much to this room. We started by clearing it out. 
Yes, window treatments and all!
Painted the room with a fresh pale yellow. 
Added a larger bed with new linens, kept the dresser and painted the little bedside table.

My life-long friend and now across the street neighbor made this special pillow for my birthday! 
We took these family portraits on the beach last summer.
The shelf above the bed is something I made out of an antique headboard.
 If you are a "follower" that you know that I made another shelf like this for my bathroom at home. 
Go here to see it.

 I love the antique looking hardware that you can find at Hobby Lobby-my favorite store!
 At first I didn't really know what I'd hang from the knobs. 
But I think the hat and little sign are just perfect!
 I made several little signs like this and sold them at our community's Country Fair. 
This verse is a great reminder that God continues to call us near to Him. 
I'm so thankful and blessed to have a place where I can come and REST in Him!

Simple Spring Wreath

If you've got 7 minutes and a couple bucks, you too can make this Simple Spring Wreath! You'll just need a couple supplies fr...