I've been dreaming about creating a Gallery Wall for a long long time.
Dreams do come true. Haha!
I started out by gathering some old frames. Some I had and some I bought.
Some were black and some where not...
Once I had the desired amount of frames (clock, mirror, letter)
I measured the area of the wall where I planned to hang my Gallery Wall.
I layed everything out on the floor and figured out what pictures were going where.
Once I had my desired lay out, I traced each frame onto paper and hung them on the wall so I'd know where I planned for each to go.
A few of my favorite things I added to the wall.
Our wedding invitation and a cute little clock (that I found on clerance!)
This frame is from a thrift store. I painted it black and added our important family dates.
I picked my favorite pictures and our whole extended family is represented
(including our parents, siblings, neices and nephews).
I chose different style and sizes of frames. All in black.
Some with a black mat and some with a white mat.
This one takes us back to Florence, Italy in 1997!
Each one reminds me of sweet times, here Tyler as a ring bearer in my brothers wedding.
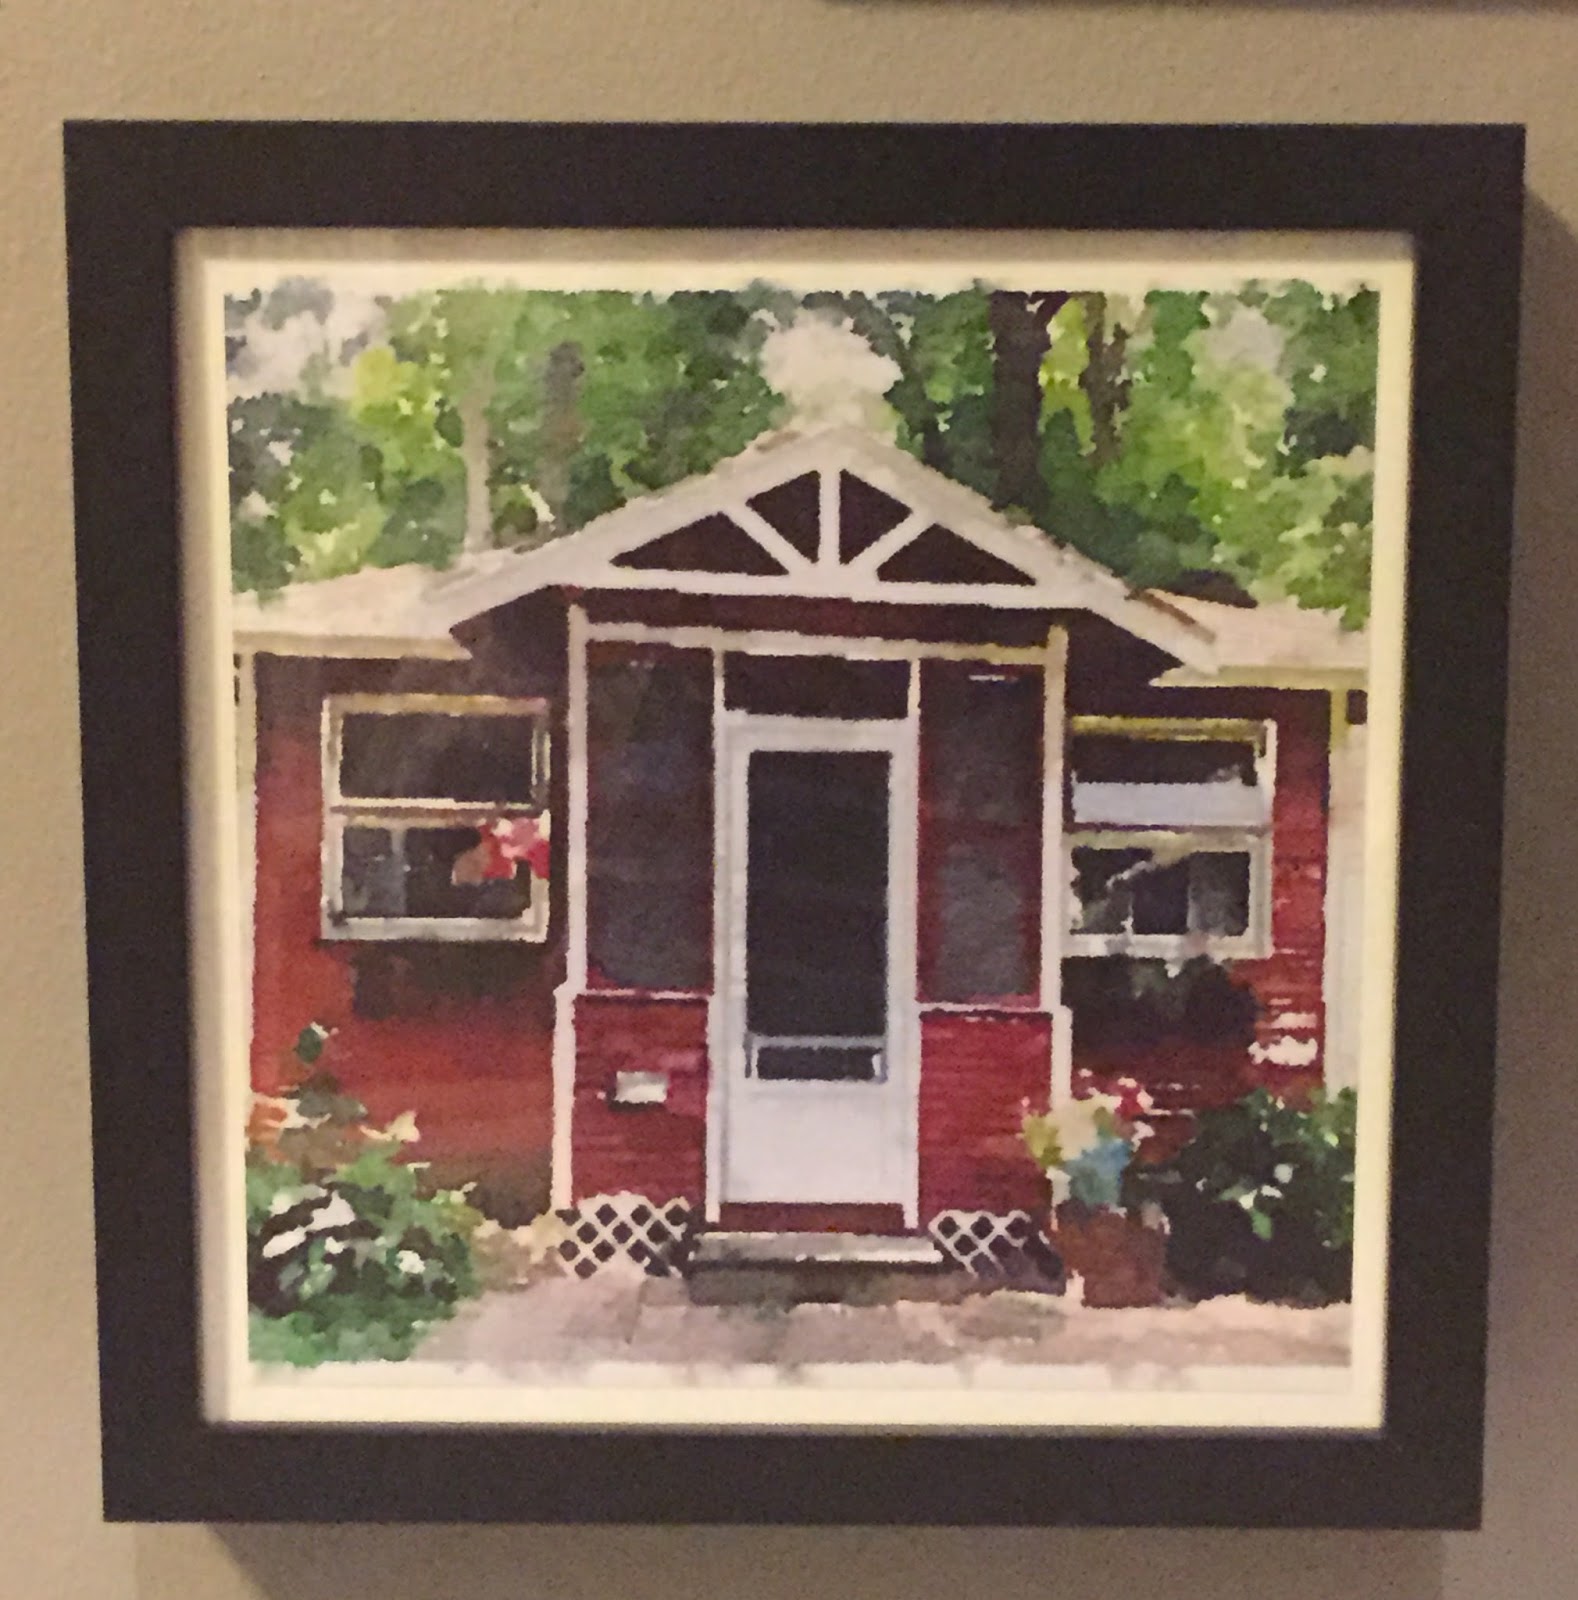
And our cottage in watercolor and printed in 8x8.
One of the best parts about my Gallery Wall, I used very few nails!
Instead most of the frames are hung with these 3M Command hangers.
Check the packages instructions,
there are several different kinds of hangers for different kinds of pictures.
This is an example of what it looks like on the wall.
When you pull the little rubber strips at the bottom it comes off the wall nice and clean!
One of my favorite additons is this Paper Mache "M"
I painted it out with black craft paint and hung it up with the Command hanger.
And you know I used a coupon on this! Gotta love the big impact for low cost.
Some of my personal tips for creating your own Gallery Wall:
- Choose one color frame (black, white or brown) Keep them all the same
- Use different size and styles of frames
- Gather your favorite pictures, old and new
- Add a couple unexpected items like clock, mirror, letter, wedding invitation, family dates
- Hang frames close together (this is easy to do with the 3M Command hangers)
- Decide if you want to do all color pictures or black and white (I have one black and white photo)
- Have fun and don't worry so much about it being perfect!