Spring has finally arrived! At least in the South where I live!
I love this super easy and inexpensive Twiggy Basket on my front door.
It's so simple and really the only supplies you need to buy are
flowers, burlap ribbon and a little bit of moss.
Start by gathering up some twigs from your yard or your neighbors yard (they'll be so grateful!)
I purchased several stems of flowers at Hobby Lobby. I wasn't sure exactly how many I'd need,
so I bought more than enough because I knew I could always return what I didn't use.
This is my favorite brand at Hobby Lobby.
And if you buy them when the floral department is on sale, they turn out to be quite a steal!
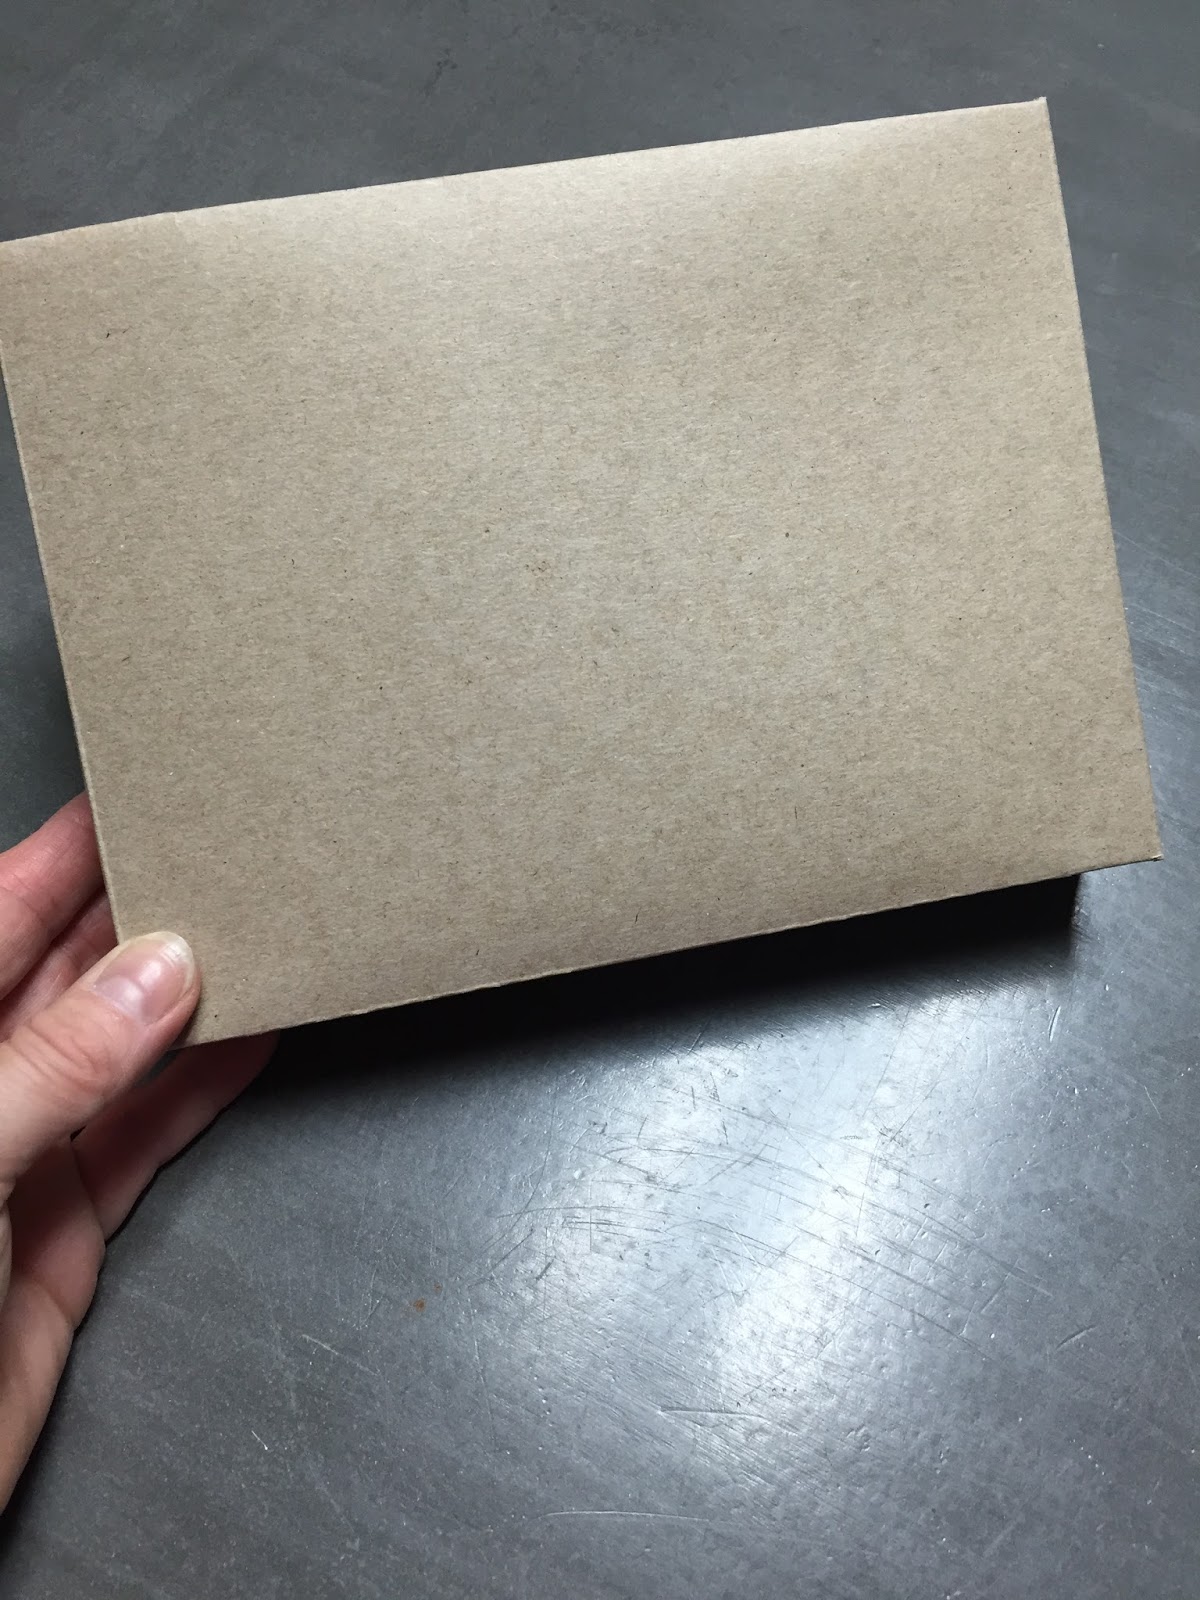
Now here goes the fun part, find something in your recycling. Really anything with do, this will determine the shape of your basket. A cereal box cut in half would work great too!
I took apart the box and turned it inside out and then taped up the edges.
This leaves us with a good neutral background.
I started by laying out my twigs on the box, breaking them with my hands, to the desired lengths.
Next I used a hot glue gun to adhere all the twigs to the box (don't forget the sides too!)
You could probably fill in the gaps with smaller twigs, but I like the idea of wedging some moss in between the gaps. Again I used a little hot glue.
I glued a piece of felt to the back of the cardboard,
I did this to protect my door and it makes the project look a little more "finished."
I added my flowers and arranged them. I didn't cut any stems,
just bent them so they'd fit in the box nicely (and if I choose to do a different arrangement some day I can use these flowers in something else).
What a beautiful natural display on my front door!
Before I added my burlap ribbon, I took a double layer of brown yarn and wrapped it all the way around the box. You can see it in the above picture and...
...how it wraps around the side of the box/basket.
The yarn wrapped around helps keep the basket from falling forward
and it gives you something to attach the burlap ribbon to.
It's the perfect spring pop of color my front door needs.
My friends liked this idea so much we had a little craft party and they each made one.
We decided a big burlap bow on the front was a fun touch.
The yellow flowers in the brown twiggy basket looks so great on this Farm House white door.
And really looks good just about anywhere!