Wednesday, January 22, 2014

Personalized Painted Mug

Baby, It's cold outside! Even in North Carolina. 
I got the girls together, along with a couple of their friends 
and we crafted up some new personalized mugs!
 We used the following supplies; Oil-based Sharpie's (I got mine at Hobby Lobby). 
It's very important that you use oil-based paint markers (like these Sharpie's) 
otherwise it may come off when you run it through the dishwasher.
 White ceramic mugs. I found these at Wal-Mart. 
Use of an oven in a well ventilated space.
 I cut jumbo plump letters with my Silhouette. But you can use a scrapbooking sticker too. 
 Apply the sticker to the center of the mug, burnishing the edges. I made sure that I placed the letter so that it would be facing out when I was drinking. You may not prefer to do it this way though.
 I started with the silver pen and placed dots all around (and a little over) my letter.
 Making sure not to go too fast, or you will end up with little lines and not dots!
 After I added the right amount of silver. I added red. And then added a little more silver and then a little more red. Until I was happy with the shape and the amount of dots.
 How cute is that! I think it may even make the hot chocolate taste better!
 We used a different color combination for each person in our family.
 Before you go ahead and boil your water for your own hot chocolate, 
you'll want to bake the mugs in an oven for 30 minutes at 350 degrees. 
This will help the paint to "bake" onto the mug and resist wearing in the dishwasher.
I left them in the warm oven (turned off) for a couple of hours as well.
These would make great gifts, party favors or a craft for a birthday party!
Enjoy and stay warm!

Tuesday, January 7, 2014

DIY Jewelry Stand from Terracota Pots

I am lovin' this fun, new and easy jewelry stand from simple terra cotta pots!
Before I show you exactly how I put this whole thing together, look at some of the other great uses:
I painted some of the acorns to match my fall decor.
Or how about some rocks and coffee beans. Oh the aroma!
But my favorite is for earrings, necklaces, bracelets and watches. 
It's so nice to be able to slip things off and add them to my colorful display!
So now I'll show you how I did it!
 I bought three terra cotta plates at Lowes
 and three coordinating pots.
 I used Gorilla glue to adhere them together. I decided not to use the little pot in the end.
 After the glue was dry I painted out the whole thing with some craft paints
(you know the kind in the little bottle!)
I used some a glaze I had mixed up a million years ago, called Tobacco Stain.
I rubbed it all over the pots and plates.
I love the finished look. 
This was such a easy project and it look absolutely adorable with all my jewelry on it!

Tuesday, December 3, 2013

A few of my Favorite Things

I've been slacking off a little on posting... but that doesn't mean I'm not creating! Until I can find some time to share with you what I've been up to I hope you can enjoy some ideas from December's past:

You've probably already started decorating your home (and maybe you're done!) 
but this would be the perfect addition, FREE Subway Art created by me for you!
For the details and colors, head over to my post on Christmas Subway Art here.

I love a good DIY craft copied from an expensive something store bought. 
That's exactly the case of this festive Yarn Balls.

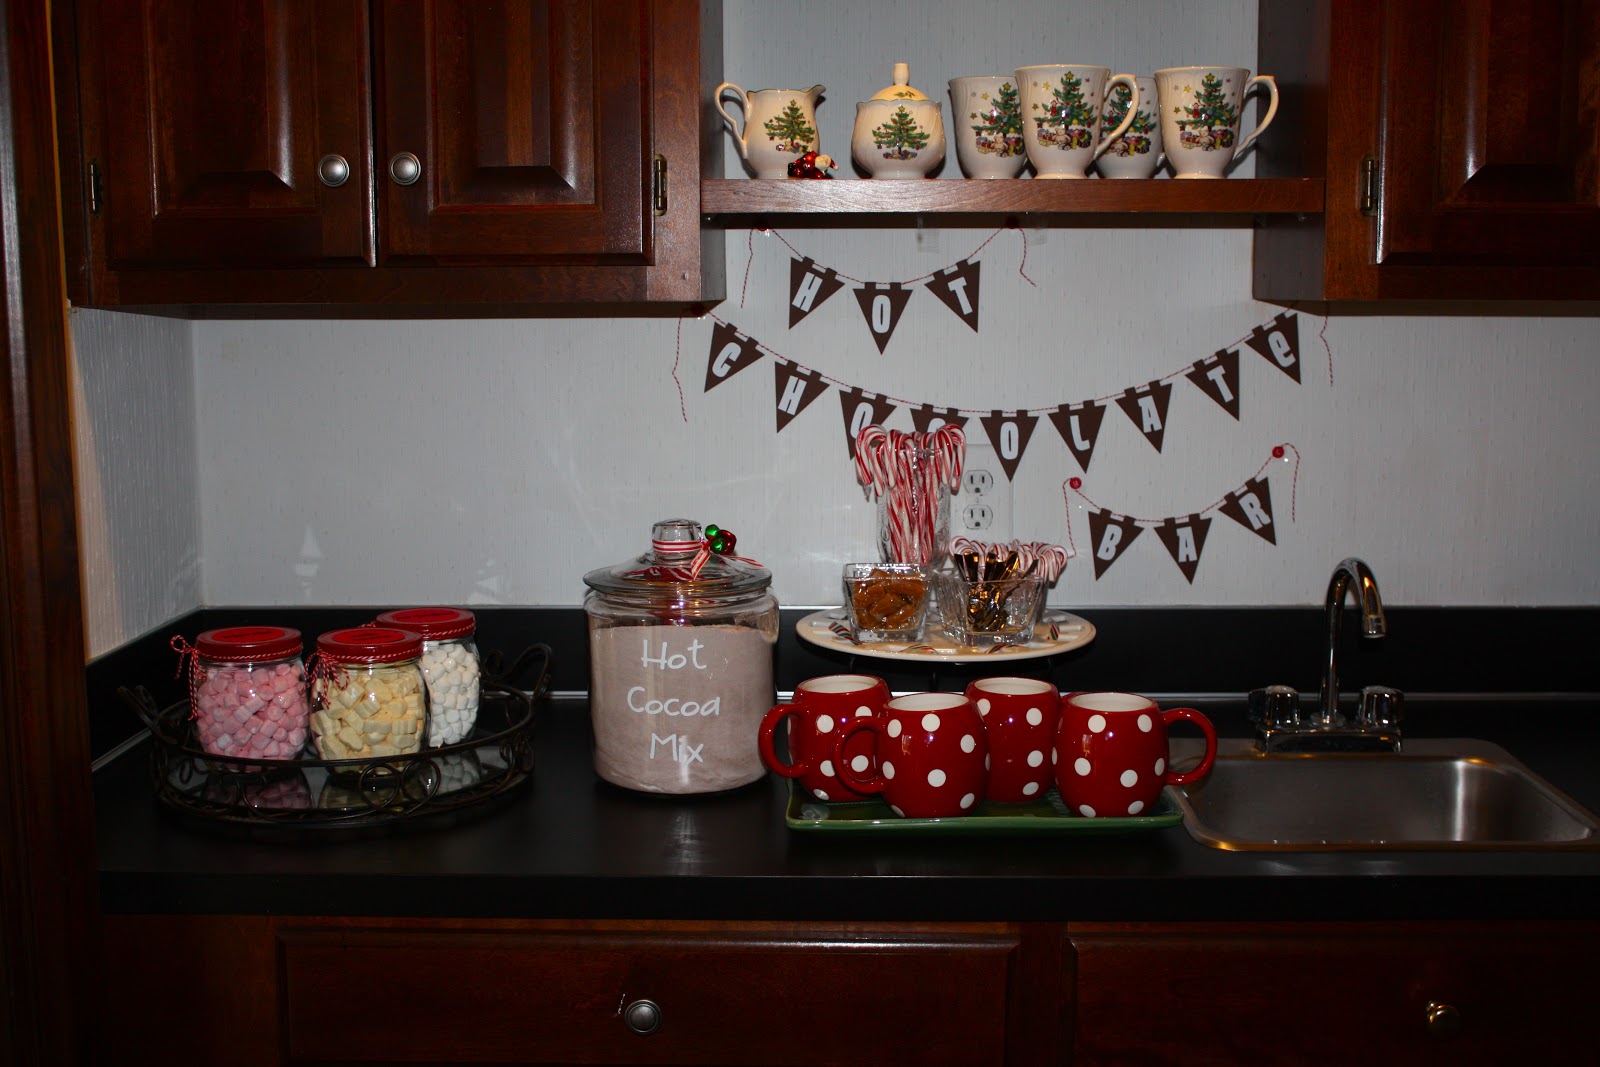
Tonight we set up our Hot Chocolate Bar for the 2nd year. You too can do this at your house!

See all my details here

For a couple years I've planned a little party with just our family. 
You too can throw your own Grinch party!

Next week I'll post some great DIY Christmas gift ideas!


Friday, October 18, 2013

Mercury Glass Pumpkins

I've been in love with everything Mercury Glass 
and have been dying to try creating something on my own.
 I found clear glass pumpkins at Walmart for $6.00 (sorry, no before picture!)
 The Mercury Glass Pumpkins are the perfect fall addition to my mantle 
in addition to the little round fish bowl glasses I found at the Dollar Store.
 If you interested in making your own you'll need the following:

  • Krylon Looking Glass Mirror Like Spray Paint
  • A mixture of equal parts warm water and vinegar in a spray bottle
  • A glass jar, container or Pumpkin!

 I started with this clear glass round bowl. 
I cleaned it out with a damp cloth and then made sure it was dry.
 I lightly spritzed the inside of the bowl. Being careful not to get it to wet.
 I lightly sprayed the inside of the bowl with the mirror spray paint.
 I let it dry an hour or so before I sprayed it again. 
I probably sprayed it a total of 3 or 4 times 
ensuring I hit every spot on the inside of the bowl and sometimes 
swirling the paint around and turning the bowl upside down so the extra paint could drip out.
 I love the way it looks on the outside with the little speckles.
 And each one is a little different.
Now head on over to Wal-mart and make your own Mercery Glass pumpkins! 
Let me know how yours turns out!

Friday, September 20, 2013

Chicken Wire Jewelry Organizer

This is a great idea for anyone small on space.
If you're like me, you've collected a fare amount of
large chunky necklaces that you need to store (or display!)
I happend to find this chicken wire fencing on junk day.
I thought it would be the perfect piece to store jewelry!
I bought a couple packs of "s" hook at my local home improvement store.
And I just hung them up randomly all over my chicken wire fence.
And proceeded to hang my necklaces on the "s" hook and some earrings straight on the wire.

If you're not able to pick up a chicken wire fence, how about making your own! 
Head on over here to a previous post of mine 
where I made a chicken wire board for my daughter's room. 

Monday, September 2, 2013

Summer 2013

Another summer on Lake Michigan and too busy spending time with my family and friends to blog. 
So here's a picture recap!
Sidney had fun taking pictures of each state sign that we passed through on our way to the cottage.
 We made it to Michigan! I love that the dog made it into this shot!
 So fun to be welcomed "home" by this sign from our friends!
The five of us spent the night in Chicago walking around the city enjoying the sites of the city, walking to the Bean at Millenium Park, walking to dinner at Gino's East, walking on Michigan Avenue shopping, a water Taxi ride to the Willis Tower 
and seeing all the hoopla celebrating the Black Hawk's Stanley Cup win!
My whole family celebrating July 4th with breakfast in front of our Little Red cottage.

After a fun trip to Chicago, a fun-filled-fourth and winning the annual Skim Board competition, Tyler broke his arm July 7th! I thought it would change our summer and I'd have to find other ways to keep him entertained... but it turned out not to be so bad. With a waterproof sleeve he wore over his cast (to keep sand and water out at the beach), he still managed to swim, play tennis, hang with his friends and do most of the stuff we normally enjoy every summer!
 We chose to have Tyler treated by a doctor in the Chicago area, so we made many trips in and he had four different casts over the course of 6 weeks. 
Red, Pink, Blue and black (he's not so fond of getting his picture taken!)
We enjoyed lots of meals, hanging out on the beach and good times with our family 
(my parents, three siblings and their children all spend the summer at the beach! 
That makes 20 us total!)
And of course we had great time with friends. 
The kids were constantly running here and there doing this and that. 
I enjoyed dinner out with girl friends and relaxing at the beach.
 My life wouldn't be complete with a couple painting projects. I love my new chalk-painted dresser!
And then I painted this one too (we use this in our kitchen, so I had a piece of glass cut for the top).
 I do not have a before picture because I get so anxious and just start painting! 
But trust me this thing was ugly-dark brown with big wooden knobs.
My new favorite thing to do is sew maxi-skirts! I made 4 this summer 
(and assisted some friends in making some too!)
In the picture above I used my maxi-skirt pattern and made myself a strapless dress! 
*iphone pix!
Ben and me (in my maxi-dress) headed out to dinner on my birthday.

 On August 4 Katelyn was baptized in Lake Michigan 
by her Dad and our friend and pastor Shane Harden.
There were so many family and friends in attendance for the event.
We are so proud of Katelyn for publicly following Jesus!
We had a great summer and it was hard to leave. But all good things must come to an end... 
So one last picture before heading south.
I was so thrilled when we finally made it to this sign 
(13 hours from Michigan to our home in Charlotte).


Simple Spring Wreath

If you've got 7 minutes and a couple bucks, you too can make this Simple Spring Wreath! You'll just need a couple supplies fr...