Showing posts with label parties. Show all posts

Monday, September 14, 2015

Easy Twigy Picture Frame

How cute is little twiggy frame? 
I needed a little something for a party honoring two 11-year old girls and I thought this would be the perfect thing.
Here's how I did it; I gathered sticks from my yard, roughly the same thickness and thin enough for me to break with my hands. Hot glue gun, twine, sissors, and cardstock.
I cut my piece of cardstock 4 x 6. This will be the backer of my frame and also serve as the pattern for the twiggy border.
I laid out my stick around the cardstock and hot clues them together.
And then wrapped twine around each of the four crossings. 
Using the hot glue to attach the twine at the beginning and endings.
Katelyn and her friend Halle each made 5 frames for the party.
Because I was using copies of oicturess, I just out a small dab of hot glue to the back of the picture and secured it to the twiggy frame.
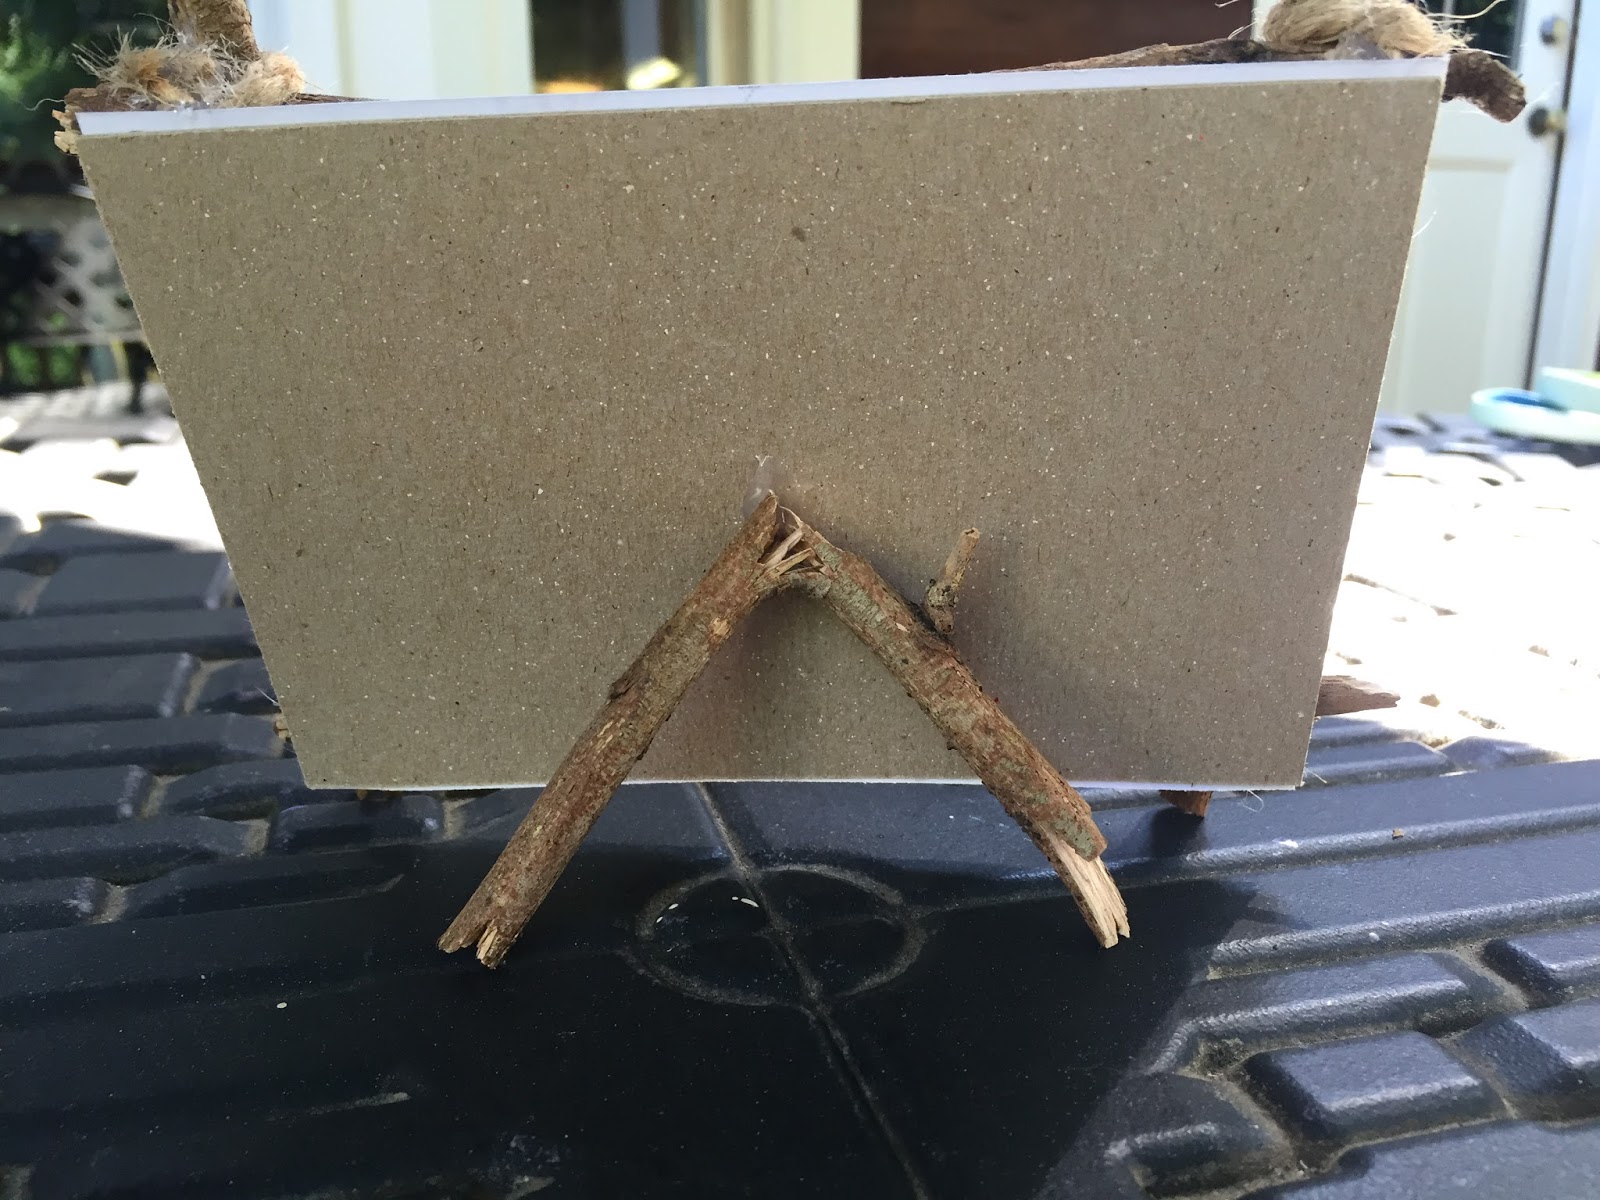
I used another small scrap stick to create a little stand so my frame can sit up on its own.
And the


Friday, May 15, 2015

Vintage Inspired Fabric Banner

It's that time of the year to celebrate. 
And what better way to do that then with a cute Vintage Inspired Fabric Banner. 
 It's really easy to do and I'm going to show you how!
I found these great fabrics at Hobby Lobby. I bought 1/4 of a yard of each.
 I used a heavy piece of cardstock to create a template.
Using a ruler I measured out how large I wanted each pennant on the banner to be.
It's roughly 4" wide and 6.5" wide (when folded).
 It's helpful to have this pattern-I'm sure I will use it again!
For the template a heavy cardstock is a good idea, but not necessary.
After folding the fabric I layed the template down...
I traced around my template with this "special" disappearing ink marker (sold at fabric stores) 
although a pencil will work fine too...
After a couple minutes my purple line will disappear!
 I cut out each of my pennants. 
I was able to get 4 (folded) pennants out of each piece of fabric.
With a hot iron, I pressed each pennant to get it nice and smooth and ready for sewing.
I already had this vintage looking yellow and white bakers twine, 
but just about anything would look good (rick-rack, yarn, thin rope, gross-grain ribbon...)
I layed part of the twine under the folded part of my pennant...
And then sewed over the twine and very close to the edges, all the way around the pennant.
However, I did not think it's necessary to sew along the top. I measured 2" in between each pennant and continued to sew them all on the same piece of twine until I had used all my fabric pieces.
You can see that the edges are a little frayed. And I like them that way. 
It adds to the charm and character-the vintage look I was going for.
I love the way it turned out!
And I think it will be great for lots of occassions!
Check out some of the other banner's I've made, 
Birthday Banner at the Mustashe Party
Burlap Banner at the Vintage Circus Party
Fabric Banner at the Rainbow Party

Wednesday, January 22, 2014

Personalized Painted Mug

Baby, It's cold outside! Even in North Carolina. 
I got the girls together, along with a couple of their friends 
and we crafted up some new personalized mugs!
 We used the following supplies; Oil-based Sharpie's (I got mine at Hobby Lobby). 
It's very important that you use oil-based paint markers (like these Sharpie's) 
otherwise it may come off when you run it through the dishwasher.
 White ceramic mugs. I found these at Wal-Mart. 
Use of an oven in a well ventilated space.
 I cut jumbo plump letters with my Silhouette. But you can use a scrapbooking sticker too. 
 Apply the sticker to the center of the mug, burnishing the edges. I made sure that I placed the letter so that it would be facing out when I was drinking. You may not prefer to do it this way though.
 I started with the silver pen and placed dots all around (and a little over) my letter.
 Making sure not to go too fast, or you will end up with little lines and not dots!
 After I added the right amount of silver. I added red. And then added a little more silver and then a little more red. Until I was happy with the shape and the amount of dots.
 How cute is that! I think it may even make the hot chocolate taste better!
 We used a different color combination for each person in our family.
 Before you go ahead and boil your water for your own hot chocolate, 
you'll want to bake the mugs in an oven for 30 minutes at 350 degrees. 
This will help the paint to "bake" onto the mug and resist wearing in the dishwasher.
I left them in the warm oven (turned off) for a couple of hours as well.
These would make great gifts, party favors or a craft for a birthday party!
Enjoy and stay warm!

Friday, May 31, 2013

Vintage Circus Party

My 13-year-old has discovered Pinterest. 
For her birthday party this year she came up with the theme "Vintage Circus," 
after she had pinned several ideas on her board.
 So I went to work to figure out exactly what Vintage Circus meant in terms of decor and party food! 
I found great party supplies in the $1.00 bins at Michaels, like the plates and napkins you see here.
In addition to the items you see in the picture above, we served 
warm pretzels, chicken wings, lemonade and watermelon.
I created this invitation in my Silhouette software. 
 My chalkboard art designed just for the party. 
You can read my post here on how to create your  own chalkboard art!
 Aren't these the cutest little cupcakes ever! I found the liners at Michaels. 
The popcorn top is actually marshmallows with the tops cut 
and then sprayed with Wilton's yellow food spray.
 I found the tickets at the dollar store 
and the red and white chevron straws I ordered from Pick Your Plum.
 Cotton Candy from the dollar store.
Circus peanuts, real peanuts and animal crackers (which I later stuck in the goodie bags).
More animal crackers in a jar (I love these things and find them very addicting!) 
The striped table cloth is actually a large piece of fabric I had cut at Wal-Mart.
As you can see I had no trouble with this Vintage Circus theme (surprise surprise!)
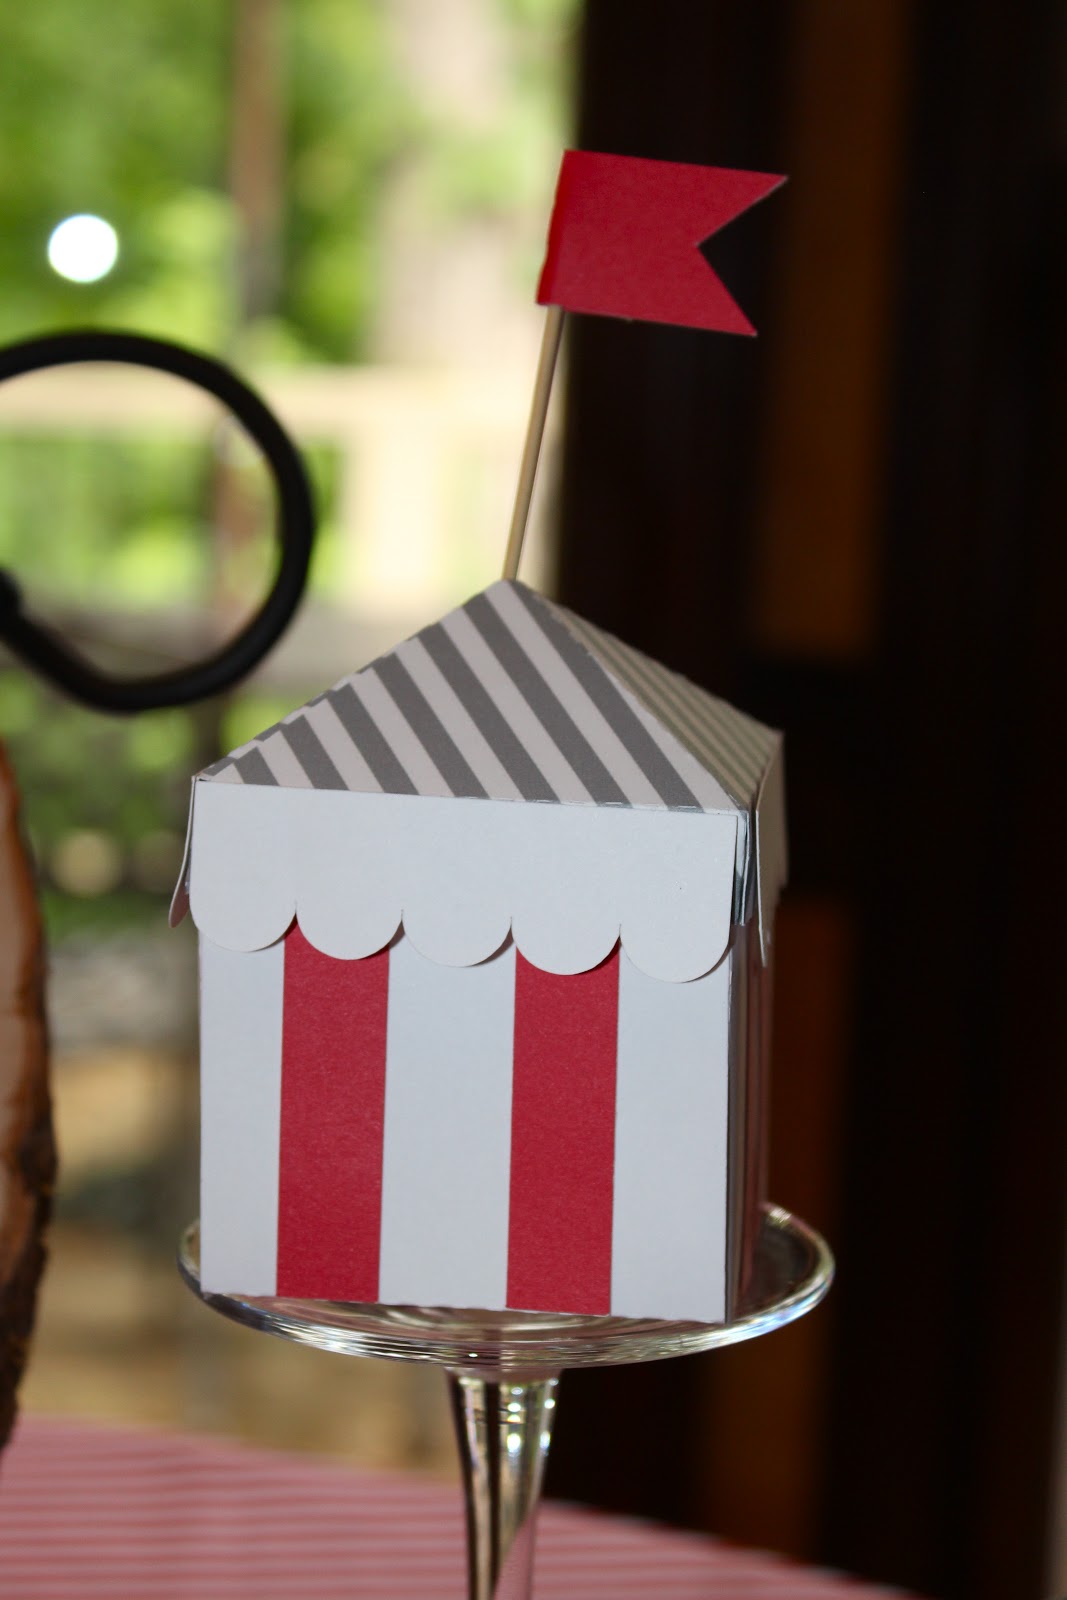
 I found these little Circus Tents in the Silhouette store.
They were so easy to put together and I had fun changing up the patterns too.
I made the banner with burlap, clothes pins and scrapbook paper.
I feel like we can use this banner for other parties as well 
(it is not so super specific to the Vintage Circus).
Sid and her friends had great fun at the party and even more fun in our homemade photo booth!

Simple Spring Wreath

If you've got 7 minutes and a couple bucks, you too can make this Simple Spring Wreath! You'll just need a couple supplies fr...