After only a short couple of days my laundry room has been transformed. And I love it!
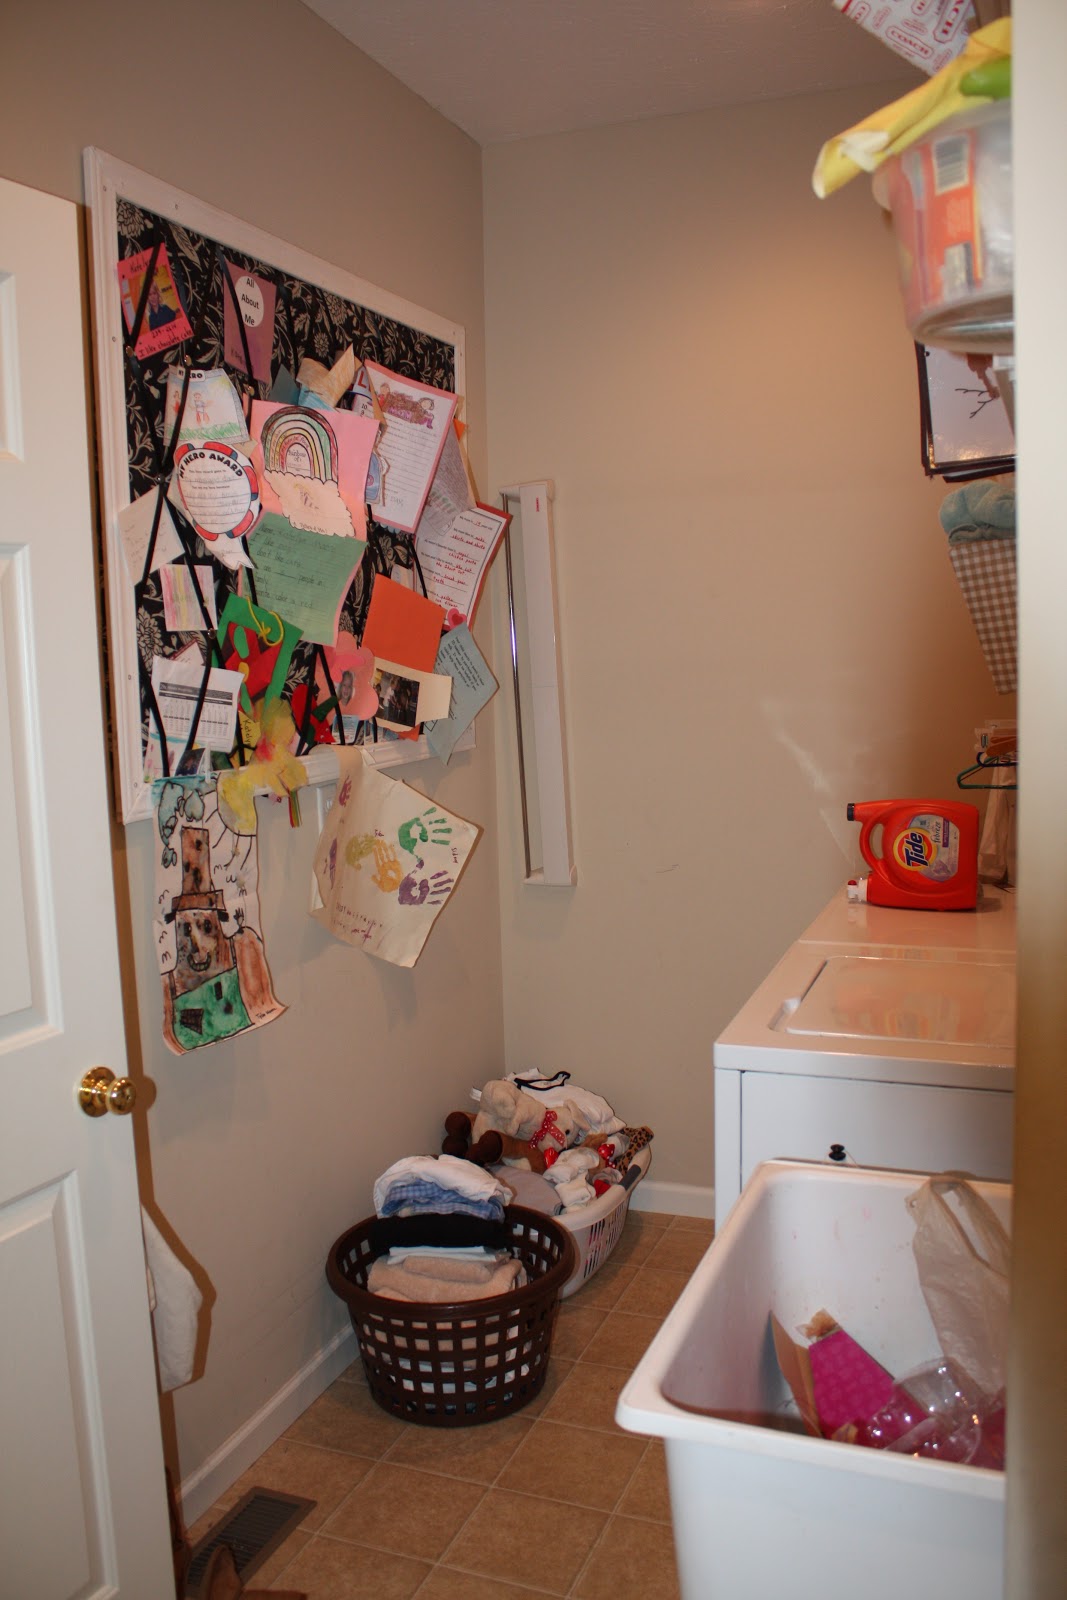
Here's what I had to deal with before.
I'd had enough of the ho-hum dumping grounds of a laundry room.
When entering the house through the garage, you had to go through this:
UGH!
I got to work painting the walls
(I found almost a whole gallon of chocolate brown paint in my basement), reorganizing some of the things that needed to stay in the laundry room, and purging the rest.
I love having a utility tub, but it's really not that attractive...
...until now!
I had made this super-size message board after we first moved in, almost 5 year ago.
So I cleaned it up a bit (took down about half of the junk I was storing up there!)
And then added the rick-rack detail around the frame.
I also used my new
Silhouette to print the vinyl letters
"The Laundry Room. Loads & Loads of Fun."
I found this Giant "M" at TJ Maxx and had it displayed in various places in my house before it found it's home in here.
I painted it white and then distressed the edges (everything is better distressed!)
The verse in my frame is Deuteronomy 6:1-9.
It's what I want to be reminded of when I'm in here.
Some more cute-sy details.
The little pot is holding the Tide stick and Grandma stain remover.
The clothes pins are for hanging important things on the message board.
and the frames are from IKEA ($1.99!)
I had some cloth baskets already and found a couple more to help fill up the space.
Everyone's gotta have one of these basket's in their laundry room:
The burlap skirt on the utility tub was pretty simple.
Here's how you can make your own:
- You'll need
- Burlap
- Burlap Webbing
- Sticky-back Velcro
- Accent Fabric (for the bottom of the skirt) Ribbon can be used too.
- Glue Gun
- Thread
- Measure the distance around the tub and double it. That is the amount of fabric, or burlap in this case, you'll need.
- Measure the distance around the tub and that's how much burlap webbing you'll need.
- I used 4 yards of burlap and 144 inches of burlap webbing.
- Burlap and webbing can be found at Hobby Lobby and JoAnn's.
- Measure the distance from the top of the tub to the floor and cut the burlap accordingly. Zig-zag stitch along all ends of the burlap to prevent fraying).
- Use a long running stitch to create a gather along the top of the burlap and sew to the burlap webbing.
- Cut sticky-back velcro according to sink size. Attach one side to the sink
- Sew contrasting fabric or ribbon to the bottom of the burlap skirt (mine is about 4" wide)
- Glue the webbing to the velcro (your needle on your machine will not like going through the sticky-sticky glue on the velcro. I learned the hard way!)
- Attach the skirt to the sink.
- Step back, take a look and give yourself a pat on the back
You may be asking yourself some of the same questions my husband was asking me, "why do you need another thing in that tiny room!" I made it for a couple of reasons:
- I needed to build something again!
- I could put the laundry baskets on the bench for easy reach and out-of-reach of the dog (who likes to eat socks & underwear!)
- I thought I needed another cute-sy detail for my new favorite room!
Remember how I said everything is better distressed?
So after painting a couple coats of black... I then sanded half of it off.
Thanks for stopping by.
Now off to do some laundry!