Showing posts with label Birthday Parties. Show all posts

Monday, September 14, 2015

Easy Twigy Picture Frame

How cute is little twiggy frame? 
I needed a little something for a party honoring two 11-year old girls and I thought this would be the perfect thing.
Here's how I did it; I gathered sticks from my yard, roughly the same thickness and thin enough for me to break with my hands. Hot glue gun, twine, sissors, and cardstock.
I cut my piece of cardstock 4 x 6. This will be the backer of my frame and also serve as the pattern for the twiggy border.
I laid out my stick around the cardstock and hot clues them together.
And then wrapped twine around each of the four crossings. 
Using the hot glue to attach the twine at the beginning and endings.
Katelyn and her friend Halle each made 5 frames for the party.
Because I was using copies of oicturess, I just out a small dab of hot glue to the back of the picture and secured it to the twiggy frame.
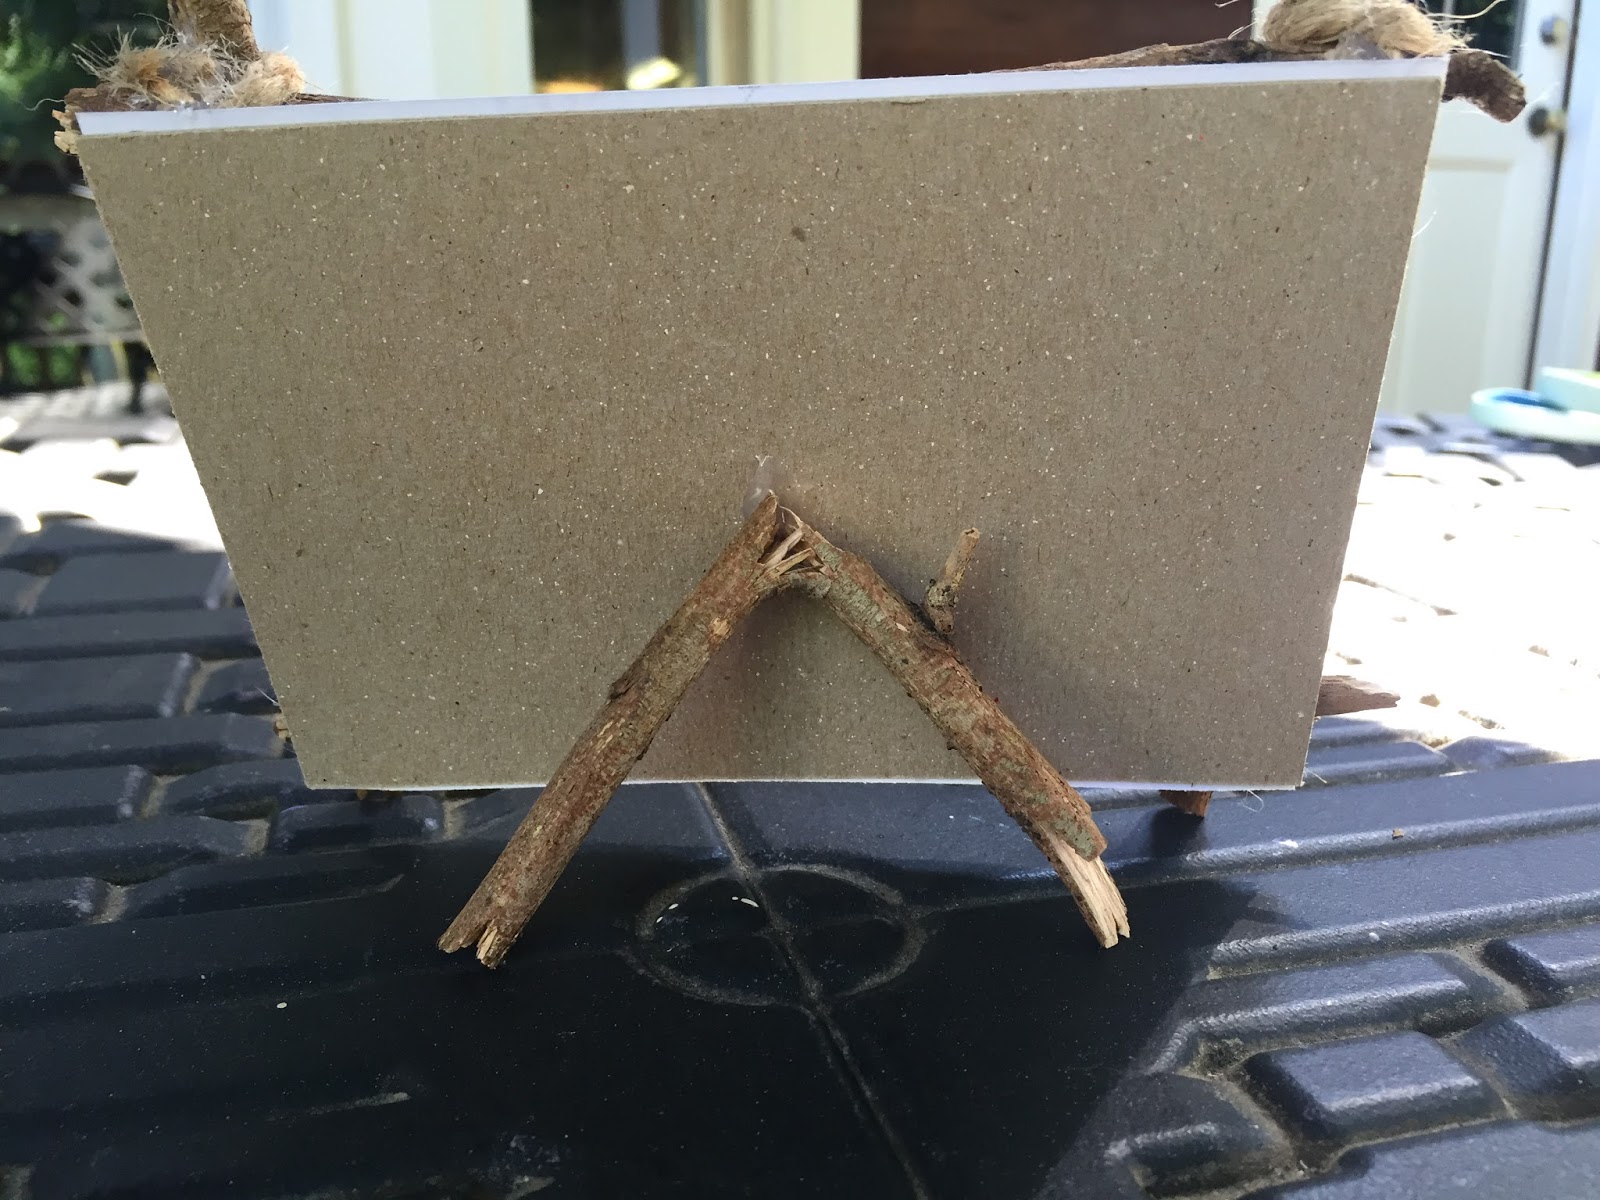
I used another small scrap stick to create a little stand so my frame can sit up on its own.
And the


Friday, May 15, 2015

Vintage Inspired Fabric Banner

It's that time of the year to celebrate. 
And what better way to do that then with a cute Vintage Inspired Fabric Banner. 
 It's really easy to do and I'm going to show you how!
I found these great fabrics at Hobby Lobby. I bought 1/4 of a yard of each.
 I used a heavy piece of cardstock to create a template.
Using a ruler I measured out how large I wanted each pennant on the banner to be.
It's roughly 4" wide and 6.5" wide (when folded).
 It's helpful to have this pattern-I'm sure I will use it again!
For the template a heavy cardstock is a good idea, but not necessary.
After folding the fabric I layed the template down...
I traced around my template with this "special" disappearing ink marker (sold at fabric stores) 
although a pencil will work fine too...
After a couple minutes my purple line will disappear!
 I cut out each of my pennants. 
I was able to get 4 (folded) pennants out of each piece of fabric.
With a hot iron, I pressed each pennant to get it nice and smooth and ready for sewing.
I already had this vintage looking yellow and white bakers twine, 
but just about anything would look good (rick-rack, yarn, thin rope, gross-grain ribbon...)
I layed part of the twine under the folded part of my pennant...
And then sewed over the twine and very close to the edges, all the way around the pennant.
However, I did not think it's necessary to sew along the top. I measured 2" in between each pennant and continued to sew them all on the same piece of twine until I had used all my fabric pieces.
You can see that the edges are a little frayed. And I like them that way. 
It adds to the charm and character-the vintage look I was going for.
I love the way it turned out!
And I think it will be great for lots of occassions!
Check out some of the other banner's I've made, 
Birthday Banner at the Mustashe Party
Burlap Banner at the Vintage Circus Party
Fabric Banner at the Rainbow Party

Tuesday, January 27, 2015

What's Up?!

Oh my goodness, you must be wondering what I've been up to? Why no more posting you say? I don't really have any good excuses. I'm still moving. Still creating. Just not doing a very good job of documenting anything! Here's a look at some of the things I've been working on since I posted last:
(in no particular order, pictures from my phone!)
 I made some tea light candle holders from birch logs. Just drilled a big-O hold with a special paddle bit.
Greatest makeover of 2014 (next to refinishing our hardwood floors). 
Concrete countertops and tile backsplash (and undermount sink!)
A L L   D I Y  (or DIO-Did It Ourselves!)
More detailed blog post on all that some other time!
Entertaining family for Thanksgiving called for me to make a buffet for our dining room. 
Worked out great and now were using it in the basemet as a tv/blanket/wi console/DVD stand!
 Cloth napkins from canvas drop cloth!
Spray painted leaf as place-marker.
Recovered this chair in my bed room with a 
simple scrap piece of linen fabric and painted on silver polka-dots.
Made this light fixture for my foyer, and a smaller one for upstairs in the hallway. Used some of the hardware from my existing light fixture and garden orb from Target. Love Love Love to outcome!
More detailed blog post on the DIY for this one.
 My first attempt at plumbing... installed this new faucet!
Found this little one on the curb. Painted it green (from one of those little sample paints) and added this gold pull from Hobby Lobby. Now it's a fun accent piece in the kids bathroom.
Picture this guy with a dark oak look in it's former life-$10 at Salvation Army. 
A little chalk paint and updated finish on the hardware.
One Saturday afternoon we put together this firepit. 
The guy in the blue did most of the work! But these girls are tough enough!
Celebrated the new teenager of the house, my favorite son (my only son!) 
with a triple chocolate kit-kat, m&m cake.
Repainted and recovered this antique chair. 
Little secret, the black and white striped "fabric" is really a blanket from IKEA!
 Took down the wallpaper in the dining room. 
It started when I just tore a tiny little piece off and then there was no turning back!
I also painted this chandelier, the ceiling and walls. 
Do not be decieved by the guy in the redsweatshirt-he tore one little piece off and then never came into the room again!

Painted the front door and added vinyl numbers.
Painted the dark oak cabinets in the kids bath. Chalk paint and hardware from Habitat Restore.
So that's all for now. Come back soon. I promised to post the details on some of these projects. 
I'm just having so much fun it's hard to stop and blog about it all!

Friday, May 31, 2013

Vintage Circus Party

My 13-year-old has discovered Pinterest. 
For her birthday party this year she came up with the theme "Vintage Circus," 
after she had pinned several ideas on her board.
 So I went to work to figure out exactly what Vintage Circus meant in terms of decor and party food! 
I found great party supplies in the $1.00 bins at Michaels, like the plates and napkins you see here.
In addition to the items you see in the picture above, we served 
warm pretzels, chicken wings, lemonade and watermelon.
I created this invitation in my Silhouette software. 
 My chalkboard art designed just for the party. 
You can read my post here on how to create your  own chalkboard art!
 Aren't these the cutest little cupcakes ever! I found the liners at Michaels. 
The popcorn top is actually marshmallows with the tops cut 
and then sprayed with Wilton's yellow food spray.
 I found the tickets at the dollar store 
and the red and white chevron straws I ordered from Pick Your Plum.
 Cotton Candy from the dollar store.
Circus peanuts, real peanuts and animal crackers (which I later stuck in the goodie bags).
More animal crackers in a jar (I love these things and find them very addicting!) 
The striped table cloth is actually a large piece of fabric I had cut at Wal-Mart.
As you can see I had no trouble with this Vintage Circus theme (surprise surprise!)
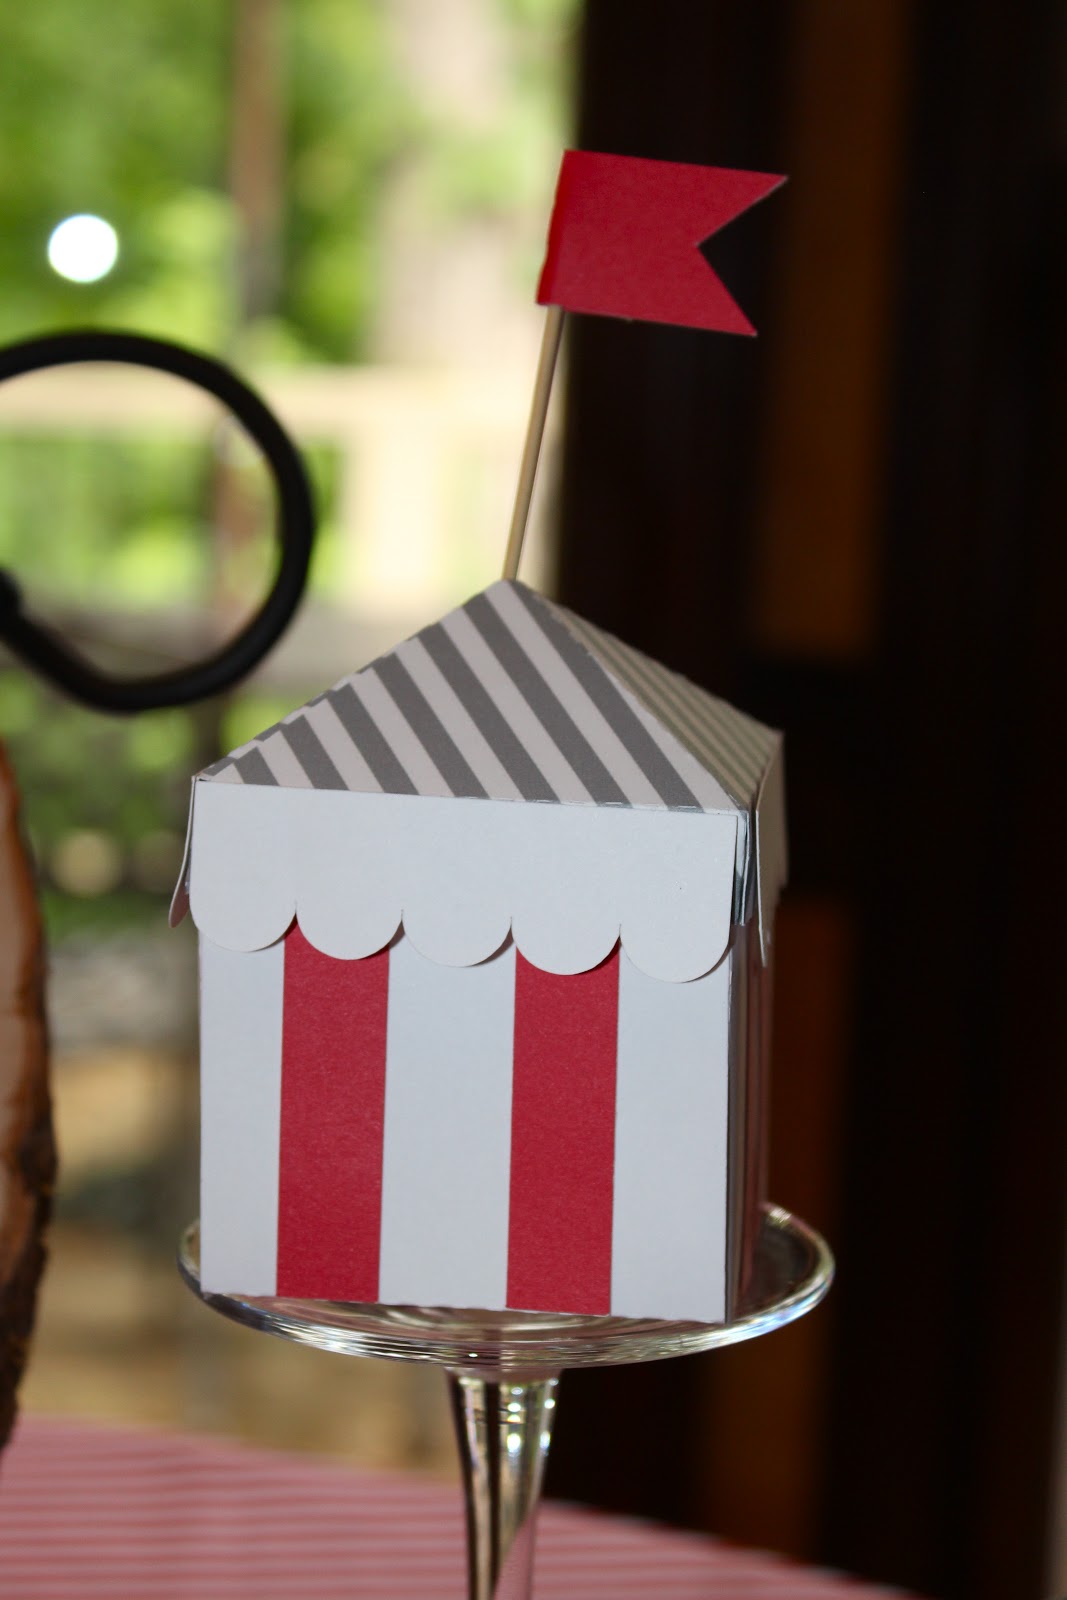
 I found these little Circus Tents in the Silhouette store.
They were so easy to put together and I had fun changing up the patterns too.
I made the banner with burlap, clothes pins and scrapbook paper.
I feel like we can use this banner for other parties as well 
(it is not so super specific to the Vintage Circus).
Sid and her friends had great fun at the party and even more fun in our homemade photo booth!

Simple Spring Wreath

If you've got 7 minutes and a couple bucks, you too can make this Simple Spring Wreath! You'll just need a couple supplies fr...