Monday, February 29, 2016

Plate Wall Art

I have a large wall in my dining room that needed just the right art work. I searched through catalogs, my favorite home stores and I even thought about creating my own abstract painting. 
It wasn't until I saw some pictures of cute plate displays that inspired me. 
But I wanted to take it up a notch and do something a little more "untraditional."
 My walls are black, yes black! So I decided to start collecting white plates (with black, gold and silver accents), I texted my mom and a couple friends and asked them to keep a look out for some plates that might work for my new project.
My plates came from all kinds of different plates, thrift shops, 
Home Goods, Marshall's, Pier One, Target and some I already had!
I would not let myself spend more than $5.00 on any one single plate.
I found these great plate hangers that adhere to the backs of plates and can be removed later. 
I bought them at Hobby Lobby, but they are also available on Amazon here.
After washing and drying all the plates, I adhered the hangers to the backs. 
I then traced each plate onto paper, 
cut them out and made little mark where the hook was so I would know where to hang the nails.
I arranged all the plates on the floor below the wall where I was planning to hang them. I made several revisions and got the opinions from my daughter and husband. I moved things around, a lot, and then finally took a picture when I thought I had everything where I wanted it. Looking back now, I think I ended up changing the position again when I hung them on the wall.
 I hung the templates of my plates on to the wall.  
And then used the smallest nails I could find to hang each of my plates. 
I hung up the nails directly through the paper to keep everything in the right place.
 My china rarely get's used, so I thought it would be good to add a piece to the wall!
It was fun for me to gather different shapes and sizes of plate. 
This one above from Pier One, on clearance!
 This little treasure was 99 cents at an antique store!
I bought a set of these Issac Mizrahi dishes last year at Christmas. 
One of each design made it onto the wall.
I love this small oval Threshold platter from Target. 
It's fun to mix up not only the sizes but the shapes too!
And finally this plate came from a tea cup set from Home Goods. I bought it specifically for this purpose and then decided to use the tea cup as a candle (that's another blog post for another time!)
I love the big impact my new collection has made. 
They stand out on the dark wall and I get so many compliments when people walk in the room!

Tuesday, January 19, 2016

DIY New Year Gold Wreath

New wreath for the New year.
The Dollar Store is my new favorite place for craft supplies...
This wreath is made out of gold metal thumb tacks! From the Dollar Store!!!
 Gold thumb tacks and a wreath form from the Dollar Store!!!
My supplies include a 6' foam wreath and 4 packs of gold thumb tacks.
This is a great project for in front of the TV. 
I covered the whole front of the wreath, slightly overlapping the thumb tacks.
The wreath was pretty heavy once I was done, and I knew I didn't want the metal tacks banging against the door so I left off the tacks on the backside and covered it with soft felt.
I traced the wreath onto my piece of felt. 
Cut. 
I trimmed so I couldn't see any of the felt from the front side.
I found some great ribbon at Michaels and used almost the whole spool to hang my wreath.
I absolutely loved the way it turned out. Especially against the dark black door.
I simply tied it in a knot at the top.
Using a sharp scissors, I cut the tails of my ties.
Our door gets a lot of use, so the felt on the back was definitely idea and minimizes all the banging.
Okay, now head out to your local Dollar Store for your supplies. 
You could have a new wreath on your door in no time!

Wednesday, October 21, 2015

DIY Plush Fabric Pumpkins

 Aren't these just the cutest little things?!
These adorable little pumpkins are easy to make and I'm going to show you how!
 I grabbed my girlfriend and 1/2 yard (each color) 
of this minky soft fleece at my local Hobby Lobby. 
We gathered up the following supplies and then got to work; 
Thread in my three colors and a nice thick-ish needle.
Dry beans (for weight). This is what I had in the pantry. Any kind of bean will do.
 Pumpkin stems (found at the bottom on the bin where pumpkins are sold!) 
You can also use sticks, they'll look cute too!
Two large trays (19" and 16") and a dinner plate to trace for each size pumpkin.
You'll also need some polyfill (stuffing) or plastic bags and a glue gun.
 Start by tracing out your circle on the back side of the fabric.
 I used this fancy Disapearing Ink/Mark-be-Gone pen (found at craft and fabric stores), 
but you could use a pencil and it would work just the same.
 Cut out the fabric circle.
 Stitch around the fabric circle with big wide stitches so it's easy to gather.
 When you come back around to where you started, pull the thread to gather the fabric.
 Before you close it up, add a handfull of beans 
(maybe 1/4 to 1/2 a cup depending on your pumpkin size). 
Then add the polyfill or pastic bags.
 Close up the hole by hand stitching back and forth. 
Making it nice and tight so it's hard to see the seam.
Hot glue your fabric stem to the top of the pumpkin.
 Voila! 
And in no time at all you can make a bunch of theses adorable Plush Fabric Pumpkins!
 This could be a great project to get the kids involved in too!
 I love displaying them in a group.
Between my friend and I, we each made 8 and I still have some fabric left!
Happy Fall Y'all!

Friday, September 18, 2015

DIY Area Rug

Here's a little story about thinking outside the box when it comes to DIY Home Decor.
I came home from my typical shopping at Target where I grabbed this rug that 
was on clearance for $2.98  (the picture below is what you'd find in the online Target store).
I had planned to put it by our back door. Until my husband said (out loud) 
"Why don't you buy more of those and sew them together."
Oh My Goodness, YES! I think I will.
I went on the hunt to gather more rugs, I figured I'd wanted 3 rows of 6 rugs. 
For a total of 18.
Luckily I live where there are several Targets within a 15-20 mile radius 
and I was able to collect all 18 and for the clearance price too!
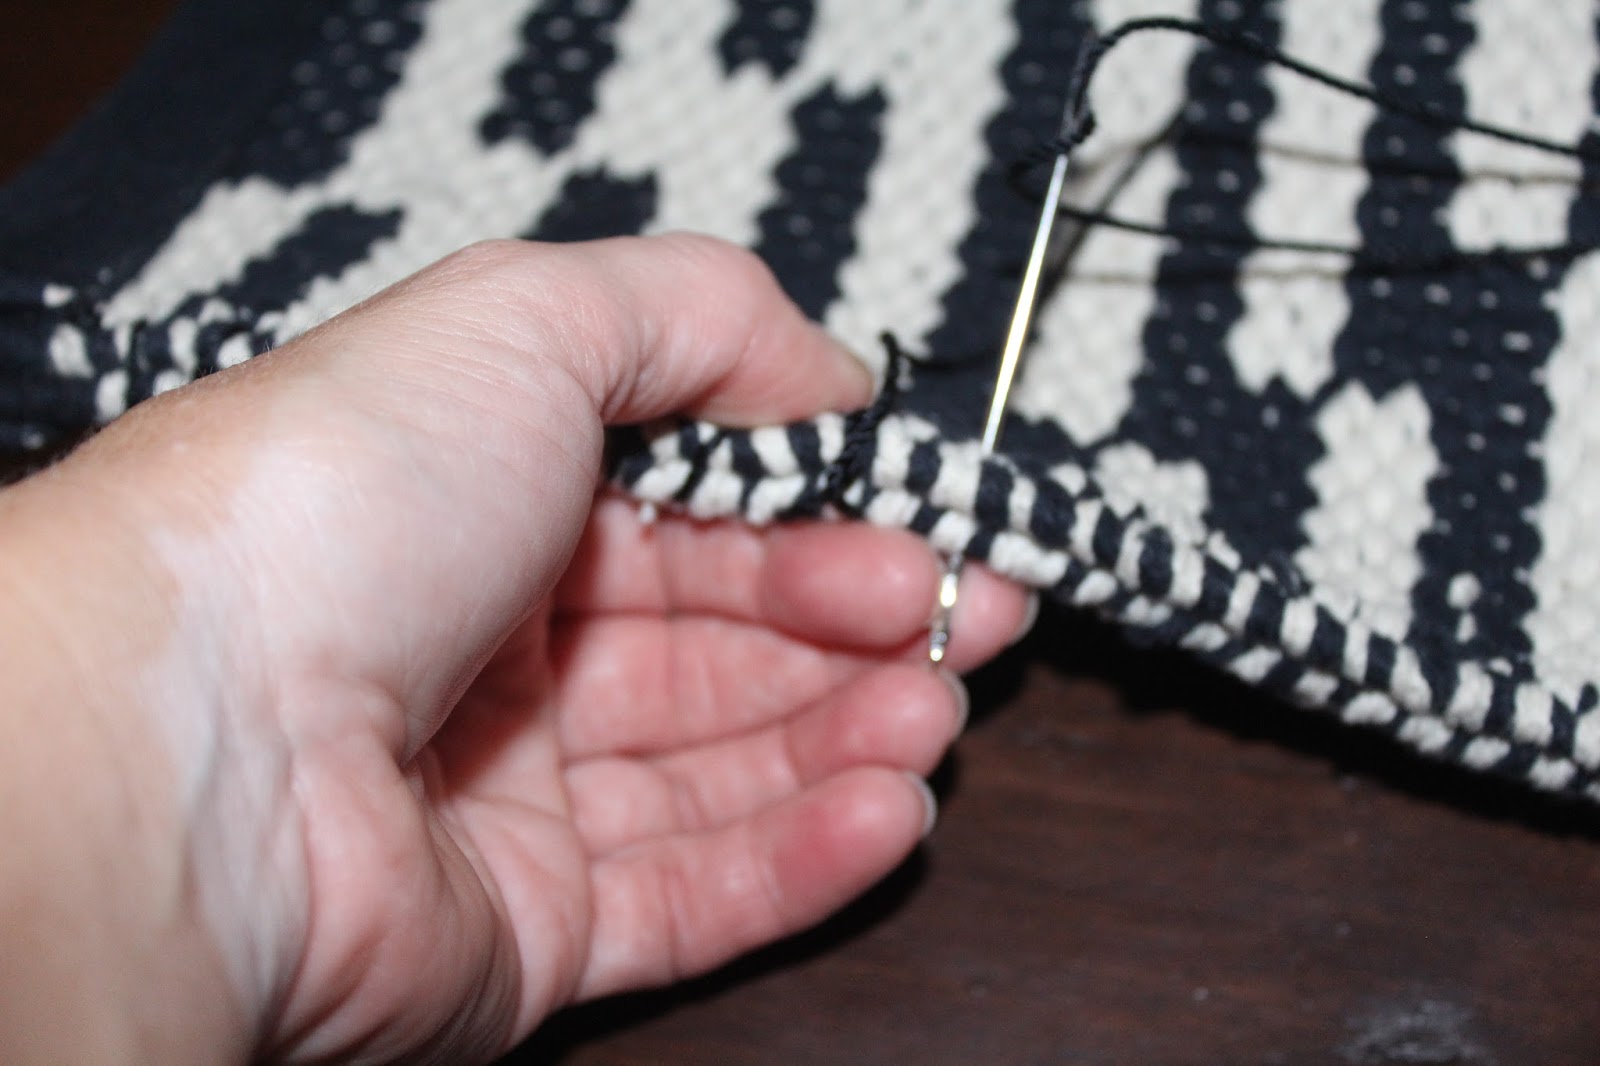
Using the large needle and nylon "yarn" I sewed the right sides together, for a total of 6 in a row.
I used a simple stitch just to keep the rugs from separating. 
And then I pulled out the "TOUGH" Duct Tape by Scotch.
I used the tape over each seam. I figured this would help the rug not to slip when I had it all together.
Half way there!
 I sewed my three rows to each other and Duct tape on the back of each seam.
 I'm so pleased with this easy and inexpensive rug. Feels great on my feet too!
I never could have found a rug in similar size for the price of paid for this project!
Ginger approved!

Simple Spring Wreath

If you've got 7 minutes and a couple bucks, you too can make this Simple Spring Wreath! You'll just need a couple supplies fr...