Saturday, March 3, 2012

The Rainbow Party

It's hard for me to believe that my baby girl is growing up. A couple months ago when we started planning her party she suggested a Rainbow party, and then changed her mind and wanted a Justin Beiber party. What? No, back to the rainbow idea. 
And then I went crazy pinning ideas all over the place. Here are some highlights from the day.
We hand delivered her invitations. Found these great lollipops at Family Dollar.
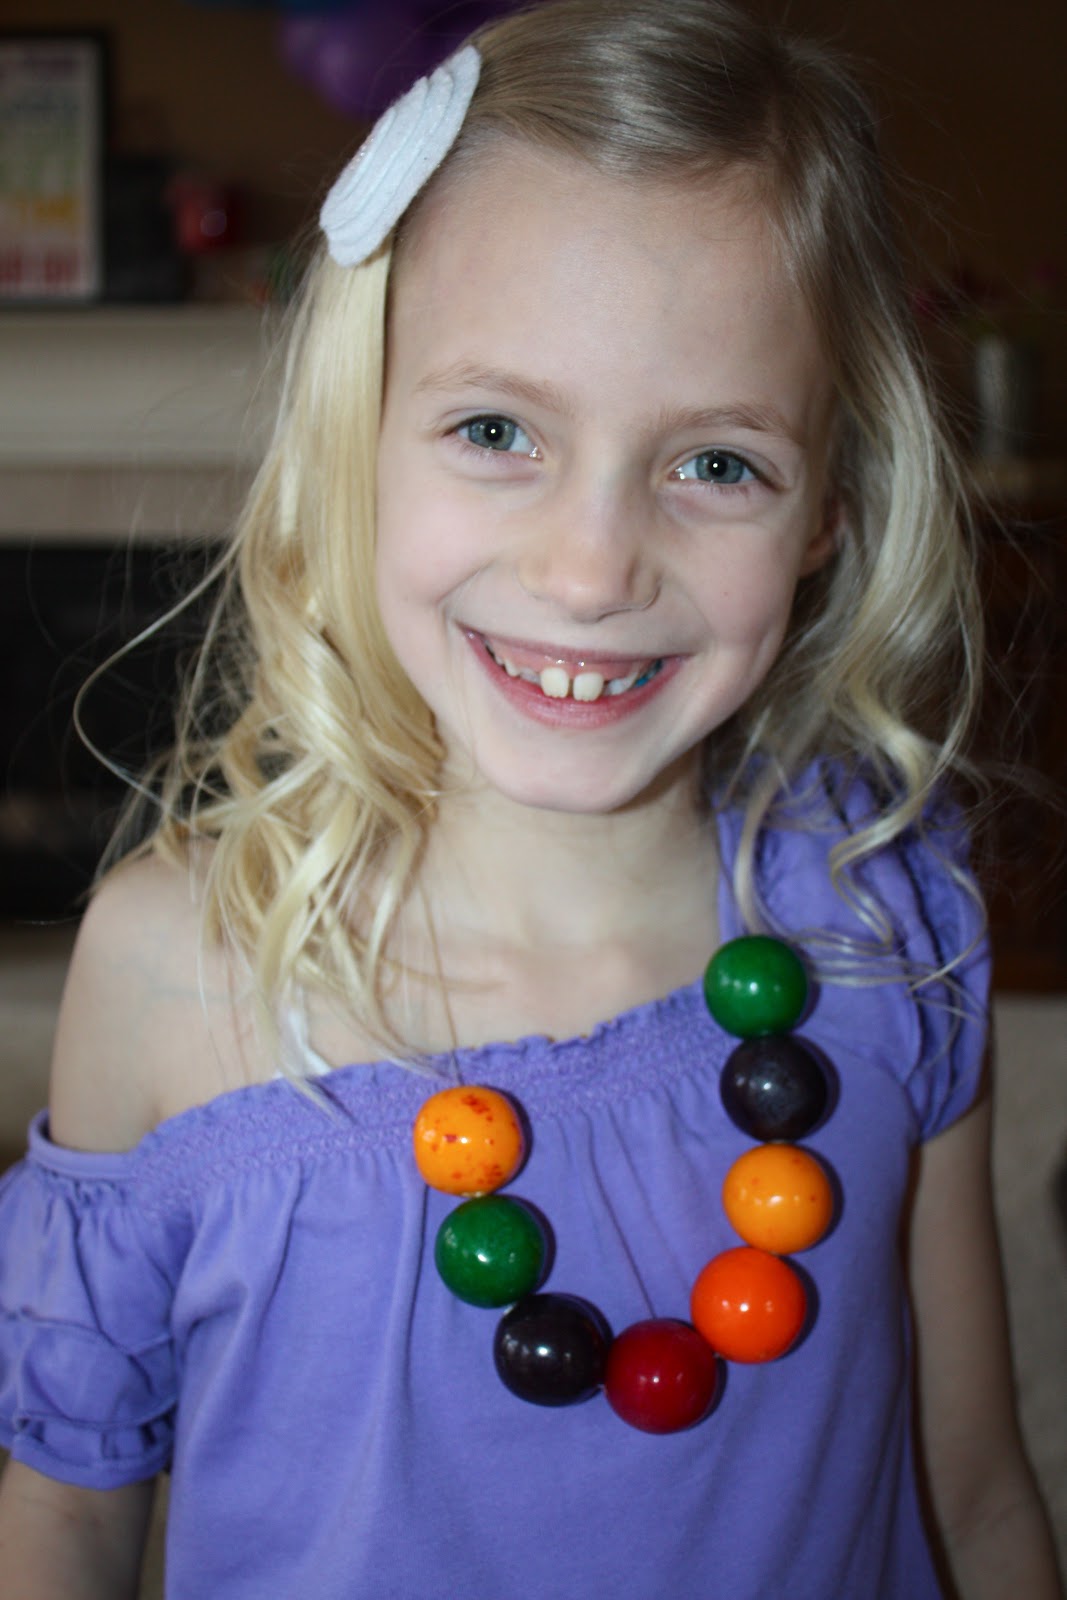
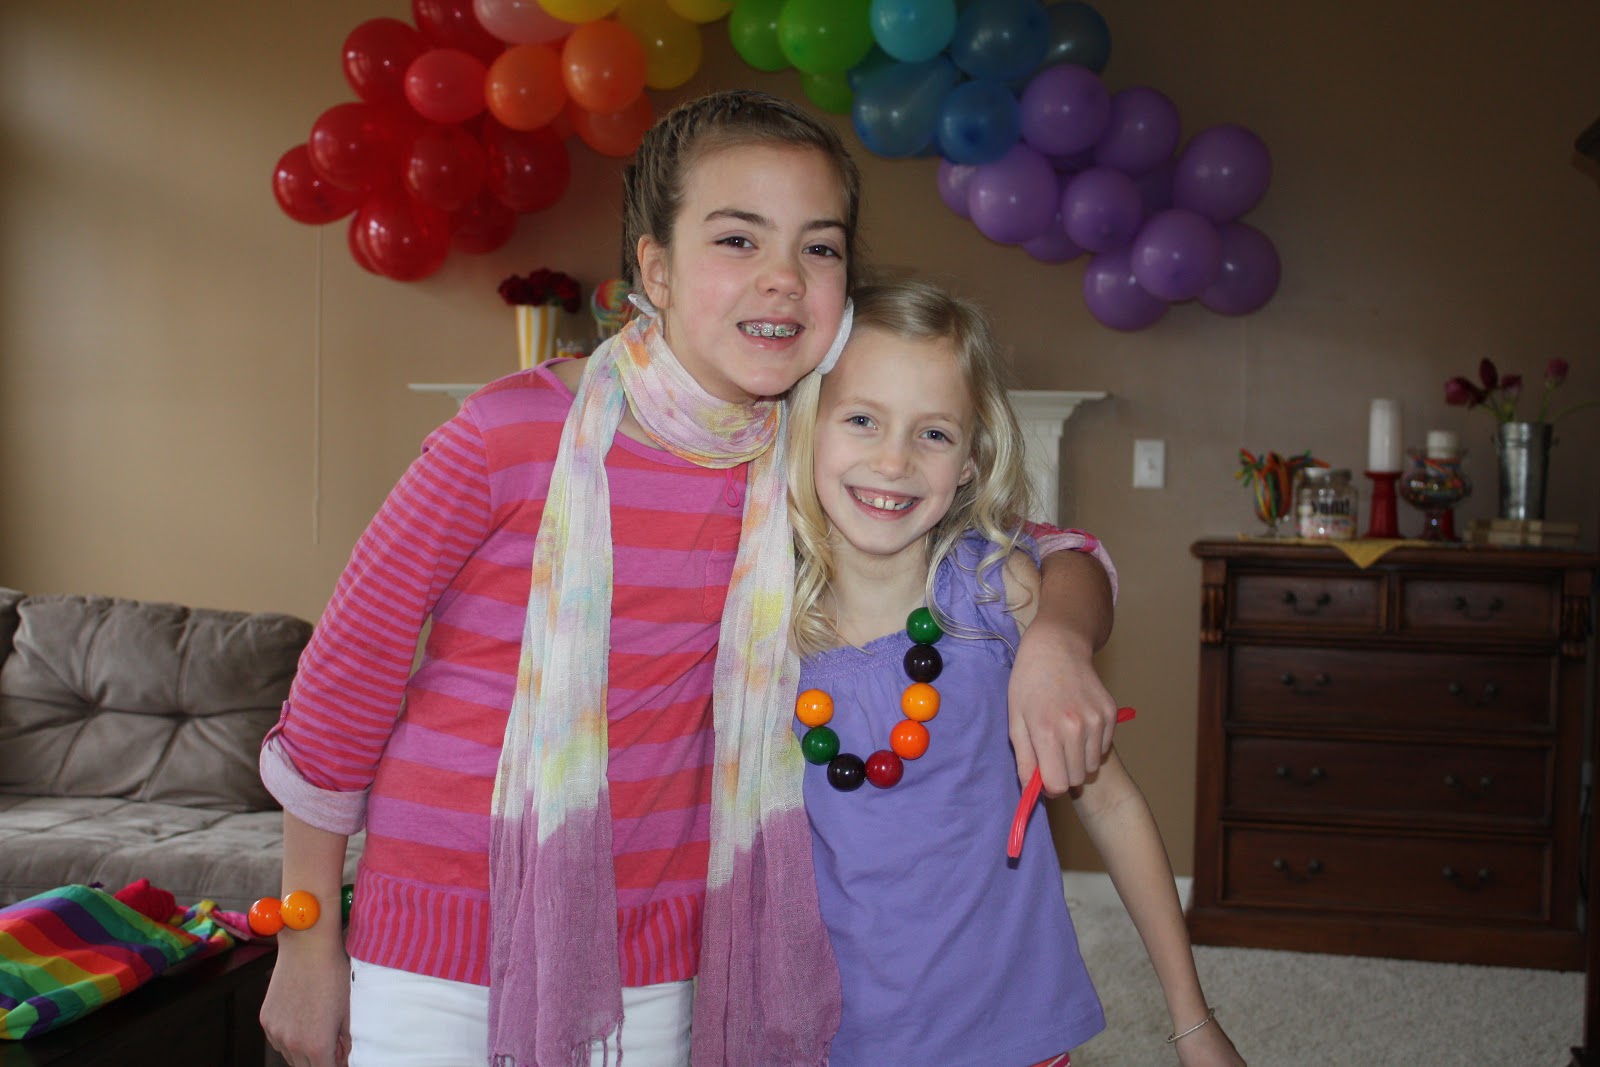
She greeted her guests with gumball bracelets. More on that here.
I had so much fun decorating and grabbing some rainbow colored things at the last minute. 
I love the way this balloon arch turned out! It really was pretty easy. I bought one pack of each color of the rainbow (red, orange, yellow, green, blue and purple) at Wal-mart. 
I followed this great tutorial at Design Mom, go here for the details. 
One of my favorite blog's is Eighteen25. They have great ideas, fun giveaways and free print-ables. They were actually the ones who inspired me to create my own Subway Art. Check their's out here. The birthday Subway Art was personalized just for the Rainbow party. Thanks again Eighteen25 girls!
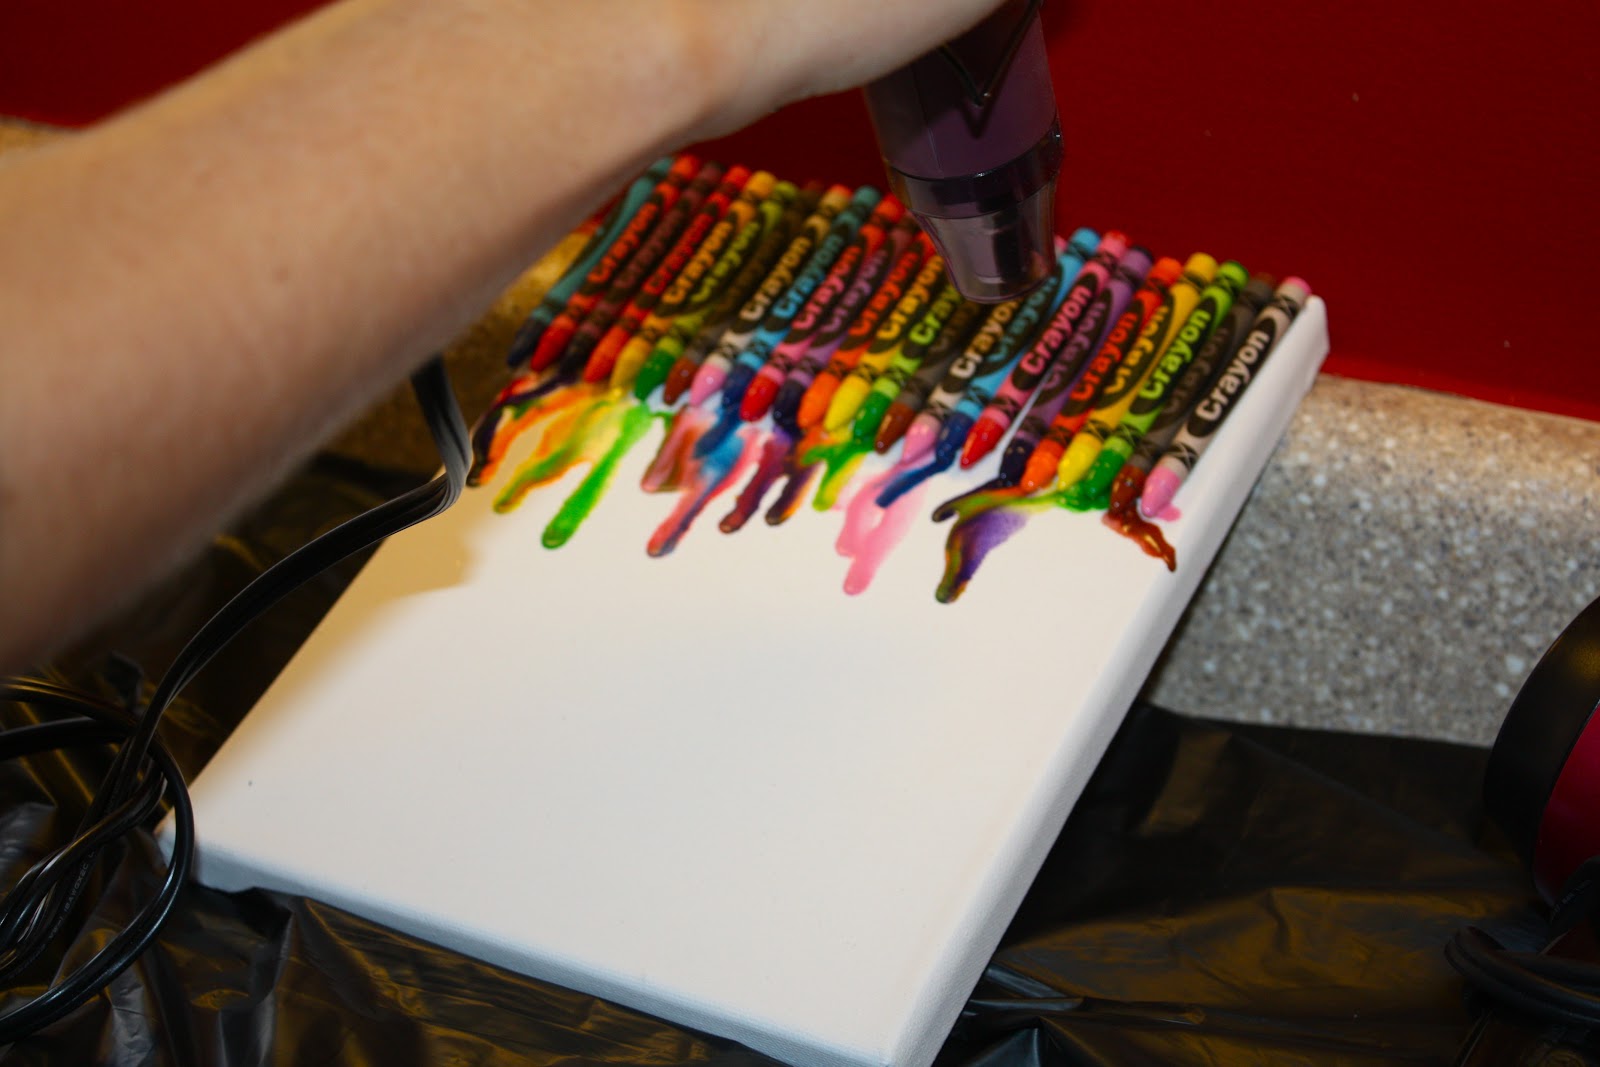
Something that I've seen all over Pinterest are these fun Crayon Art.
Each of the girls designed got the chance to design. This so was so easy and so fun. 
Each girl layed out their crayons in a pattern and we helped them hot glue them onto the 8 x 10 canvas.
Using my heat gun (or a hair dryer) we melted the crayons and they slowly dripped down the canvas. A couple of tips, don't hold the heat gun too close to the crayons because the wax will start to splatter.
 Also, it's a good idea to tip the canvas slighty so the wax doesn't rush down the canvas.


These cute little bottles were such a fun addition to all my party supplies (and can be used again and again!) I bought latte's, emptied out the bottles (via my good friends Kate & Shane!) I took the labels off and added oval chalkboard vinyl. I bought the straw off Pick Your Plum (love the deals there!)
This rainbow jello was fun to make (tasted yummy too), even if it took me ALL day. 
Great direcitons here at the Funky Polkadot Giraffe.
Rainbow fruit and cheese with mini Ritz rounds as the pot of gold. 
Rainbow cake and rainbow cupcakes! For the cake I used two mixes and divided the dough into 6th, coloring each one with Wilton's Icing Color Set 
I made this pennant with different printed colored fabric.  
I cut out removable letters that spelled K A T E   I S    E I G H T 

I used my Silhouette to create this 
personalize vinyl label for the their candy buckets (buckets were $1.00 at Target)
 The girls each filled up their buckets with candy from the rainbow. 
Red Michigan Cherries (a family favorite!) Yellow Banana Runts, Orange Slices, Green Gummies (fish, dinosaurs, worms and bears, Blue M&M's and Purple Mike & Ike's. 
Most candy was purchased from Old Time Candy (I highly recommend them - they had everything I needed and I received my candy within a couple days of my order!)
In case you were wondering, the Rainbow tastes yummy!
Everyone enjoyed the little candy bar.
Happy Birthday again to my sweet baby girl!

Sunday, February 26, 2012

Fun with Candy

My baby girl just turned 8! In honor of her special day, we had a rainbow birthday party. 
 I had so much fun planning it...more on that later. 
Today I wanted to show you this fun little party favor that I made... A gumball bracelet and necklace.
I started out with the following supplies:
  • a package of large gumballs (5 in this pack) I ordered the gumballs here
  • a large needle
  • 1mm clear stretchy cord
  • a drill with a small drill bit in it

I started by drilling holes into each gumball. Through one end and straight out the other.
Then I threaded the stretchy cord, on a needle, through each gumball.
I added all the gumballs onto one long piece of cording and then tied them off 6 gumballs per bracelet and 8 on the necklace (it looked better and was a better size with these numbers).
I tied a couple knots at the joints and pulled tight. Just like that!
Super easy! So cute! And edible!
Perfect for the birthday girl...
 And a great favor for all her friends.

Thursday, February 16, 2012

Freezer Paper Onesie

A while back I needed a baby gift for my daughter's teacher.
I thought it was the perfect time for a Freezer Paper project.
Personalized baby gifts are the best.
First I dyed a couple of onesies in boy shades.
I started off cutting out the lettering with my Silhouette.
Freezer paper (can be bought at your grocery store near the foil & parchment paper)  is a great inexpensive way to create a stencil for t-shirts, bags, aprons (let your imagination run wild!)
The next step was to iron the freezer paper stencil on the onesie.
I've found that Tulip's Slick fabric paint is the best.
I painted 2 coats of paint over the stencil (and letting the paint dry in between coats).
After my paint was dry I peeled off the freezer paper stencil.
Using a light kitchen towel I placed it over my design and used a warm iron to set the paint.
Aren't they so cute? And so easy!
I'd love to hear about some of your freezer paper projects!

Wednesday, February 8, 2012

Valentine's Mantle

My Valentine's mantle is complete. It really is appropriate for any time of the year. 
My theme comes straight from the Word:
 LOVE from the Father and his commandment for us to LOVE one Another.
 I added two new pieces since my last post. I had plans for a couple more too, and then I realized that Valentine's Day is less than a week away! I guess I'll work on those for next year.
 I created this little 5x7 "Oh How HE Loves us" canvas in only a couple of minutes!
 First I painted the canvas red. Add white vinyl letters and a ribbon around the edge. So simple!
What a great reminder for everyday, OH How HE Loves US!

My next project was inspired by a card I saw on Pinterest. 
I found all the supplies among my craft stuff! Yeah! I gathered some red buttons...
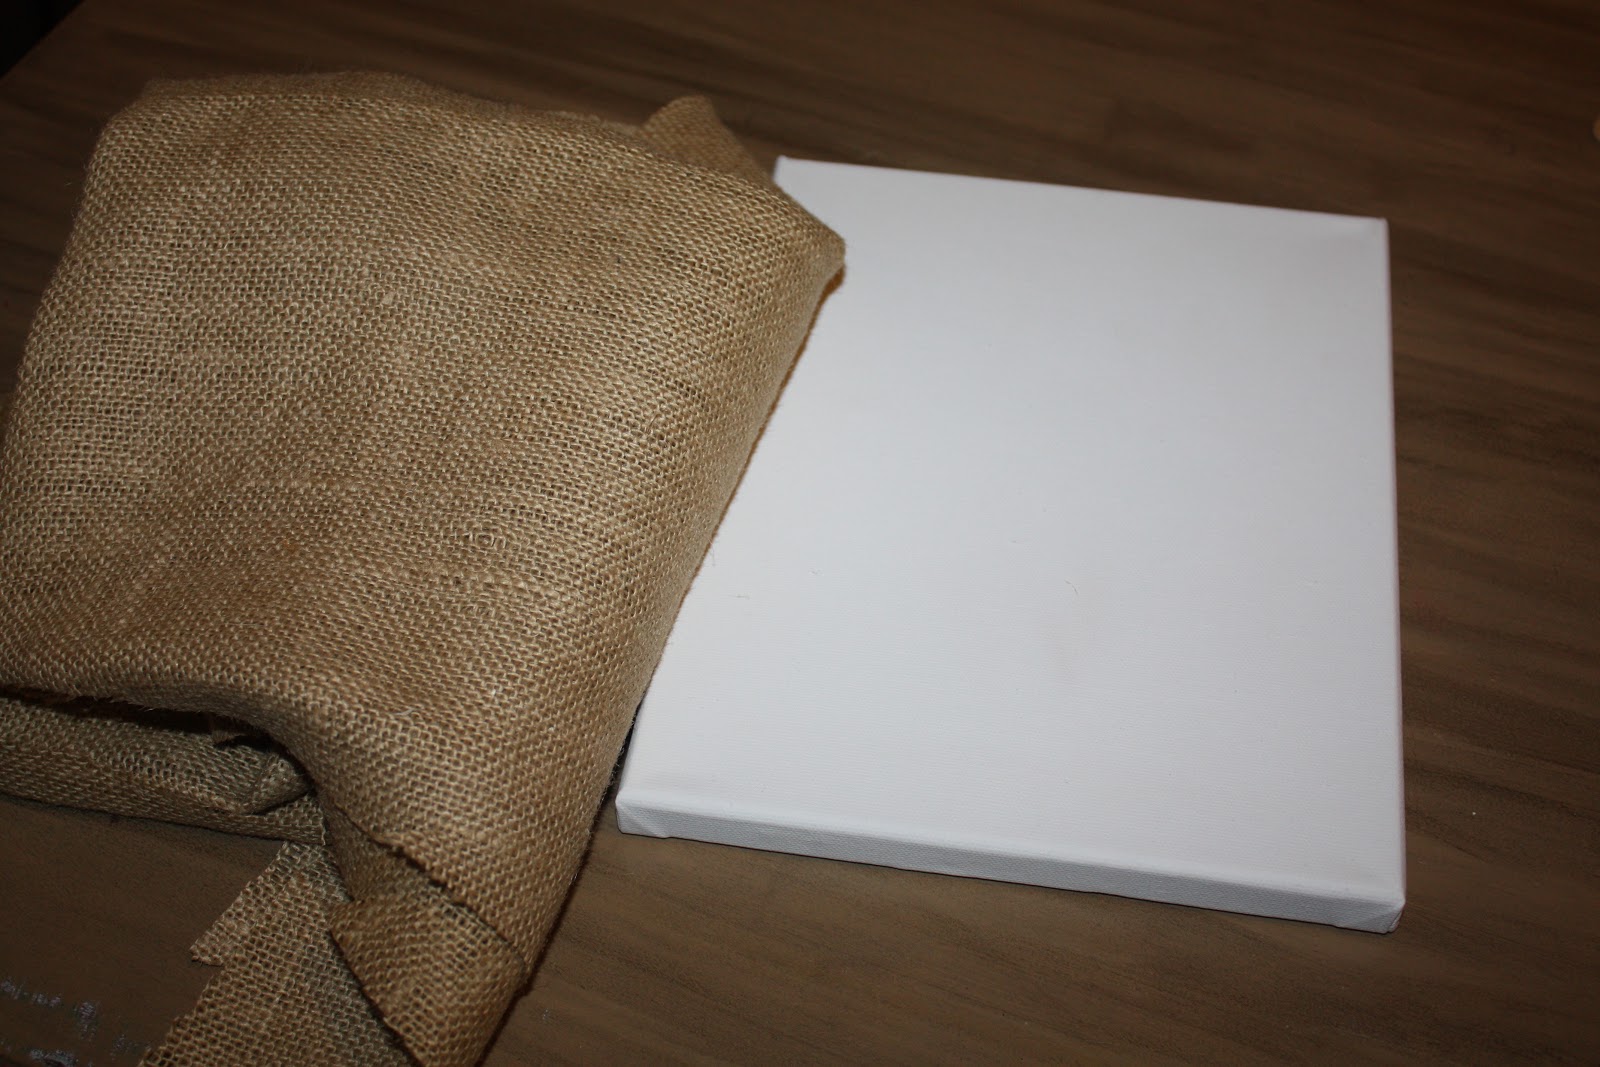
 Wrapped a 5 x 7 canvas in burlap (you know how I LOVE burlap!)
 Stapled around the edges (don't worry, I cover those staples!)
 Created a heart template so I'd get the basic shape when adhering my buttons.
 I used regular tacky glue for each button (no picture of that part-but you get the idea!)
And then I added ribbon around the edges using glue dots.
I love the combinations of textures and colors.
 Don't ever forget:
 John 13:34 "Love one another"
 Happy Valentine's Day!

Simple Spring Wreath

If you've got 7 minutes and a couple bucks, you too can make this Simple Spring Wreath! You'll just need a couple supplies fr...