Friday, February 25, 2011

Calendar Blocks

I found the perfect blend of my love for paper crafting and wood-working! It was so fun to create this cute set of calendar blocks. The perfect addition to the new desk I made for Katelyn's birthday. 
Here's how I did it.  
Supplies:

  • 1 piece of 3 x 3 pine, for about $5.00 
  • craft paint
  • paint brushes
  • scrapbook paper
  • letter & number sticker or vinyl 
  • Or print numbers & months-so many cute FREE fonts from Kevin and Amanda)
  • Velcro squares
I started by cutting my wood into 3" pieces, so you have three, 3 x 3 blocks.
And one 3 x 9 block. Like this:
 And this:
 Sand all the edges so they are nice and smooth.
 Paint the blocks on all sides. Only the edges are going to be showing, so it doesn't have to be perfect.
Next you want to cut paper for the number blocks and the month block. As I stated earlier, you can use sticker, vinyl or print out your numbers and months on the computer (that's what I did!)

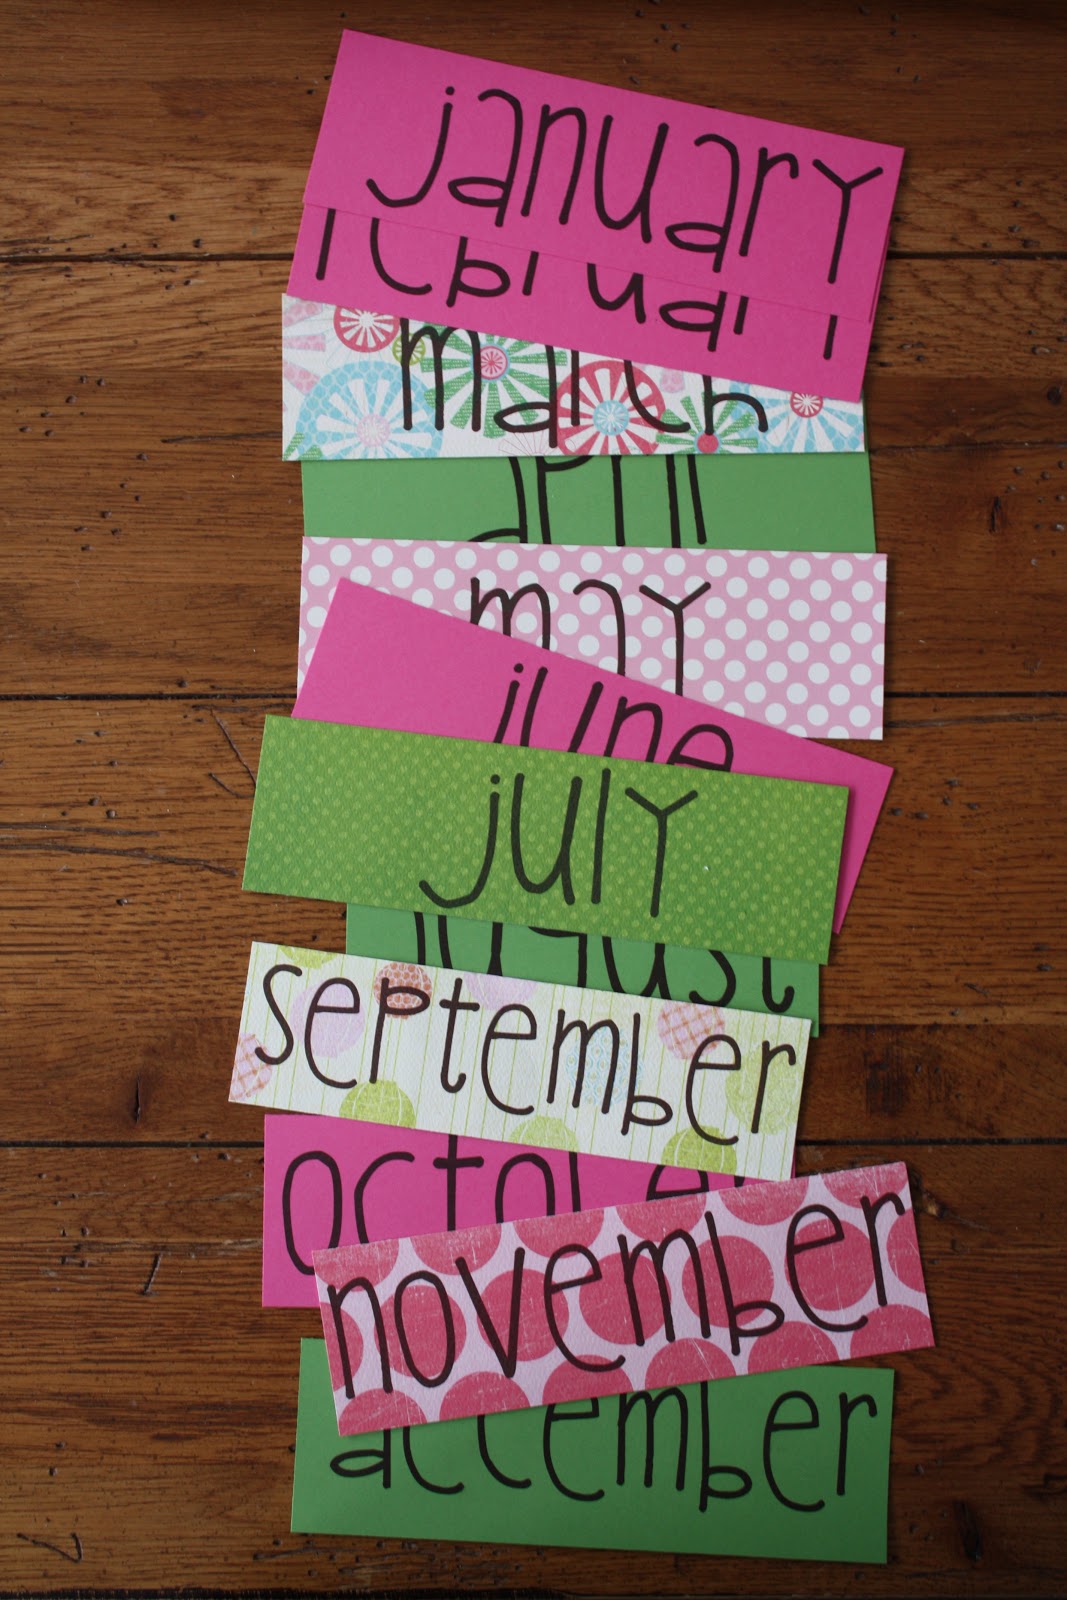
For block #1 you will need a 0,1, 2, 3, 4 & 5 
For block #2 you will need 0,1, 2, 6 (make sure it can double as a 9 too), 7 and 8
For block #3 I add some little doodles just for fun!
I distressed the edges of the numbered paper, months and doodles by using a cosmetic sponge pad and some stamping ink (you could also use some watered down paint).
 Light run the sponge daubed with ink/paint around the edges of each piece.
 After that dries you are ready to adhere the paper to the block with Mod Podge.
 With a foam brush paint the block and the back of your paper with the Mod Podge. When that is mostly dry put a couple coats of the Mod Podge onto of the paper. Let it dry in between coats.
This will seal the whole block.
I Mod Podge'd both sides (a couple times) of the months 
and then added a little block of Velcro to the back of each month and the to the block. 
Like this:
 I intend to make a little envelope to adhere to the back of the block, a place where the months can be stored. Katelyn loves changing the numbers and the little doodle block too!
My inspiration came from Kierstie at Brown Paper Packages. Go here to see how she made hers.

Friday, February 11, 2011

Last minute Valentines

The most creative things happen after hours, right?! 
I made the girls t-shirt for their Valentine Parties at school... 
and I started on them at 10:00pm the night before.
The t-shirts were pretty simple. 
  • cut strips of 1" of fabric
  • sew a couple lengths together for a full heart
  • gather the fabric strips by stitching along the center of the fabric 
  • pull the gathers evenly together
  • pin on the shirt in your desired pattern (in this case a heart)
  • stitch over the gathers all the way around the design
For this shirt I just did a small heart with just one length of the fabric 


After I finished the t-shirts I realized I had to have a couple little treats for the bus driver, art teacher, etc...
so I wrapped valentine scrapbook around a Hershery bar:
 And around a raspberry Ghirardelli's added some ribbon and a valentine greeting.
The first grade class made these cute little mice as their craft at their valentine party today. 
I thought I'd share the idea with you:
The directions & tutorial can be found at Fly Through Our Window. 

Thursday, February 10, 2011

Our Valentines

There are some super creative home made and printable valentine's out there. After browsing through many of the crafty and creative blogs I subscribe to, we decided to make these valentines:
It was really easy to do
and the red wall in my kitchen makes a nice back drop. 
We added some text,  Pixie-Stick or Tootsie Pop,
 punched a hole above and below their hands 
and we have our valentines!
 We originally saw the idea here.

Sidney chose to do something a little more involved.
White chocolate covered popcorn with valentine M&M's. 
Check out Make and Takes for the recipe. 
And the homemade popcorn in a bag by the Snack Girl.

Friday, February 4, 2011

Twin Two Year Olds

I get to hang out with two sweeties every week.


I've been watching them since they were wee-lil' ones and I have fond memories of trying to feed them both a bottle, at the same time! I am an experienced mother of three, but twins take the cake! It's been so fun to see them grow and change and say my name and follow me around the house (I didn't think that was so cute when my kids did that to me!)
This week they turned 2!
So of course I had to craft up something special just for them.
I was inspired by a shirt I saw at Target. 
Just simple tulle sewed along the bottom of the shirt. 
Little cupcake applique with the #2. Too cute!
Sidney and I decided it would be fun to have our own mini photo shoot.
 It was quite the challenge to get them together 
and then to get them to both look my way at the same time.
We had better luck with the individual photo's.
And then I tried to get them to hold up two fingers...

Monday, January 31, 2011

Shabby Chic Shelf

I'm back at it. Wood-working is SO much fun!
 I LOVE LOVE LOVE how this latest project turned out.
 This shelf was a headboard in it's former life.
It had been in our basement for years and one day it fell over and broke.
I cut off the ends. Added some brackets, a piece of wood for the top and some trim on the sides. 
 I then painted the whole thing white and distressed it a little.
I found some old knobs to complete the look.
My Shabby Chic shelf.

Thursday, January 27, 2011

Red Burlap Wreath

I love the look of burlap and had bought a couple yards of red burlap to decorate with at Christmas. I had some left over and decided to put together this wreath for Valentine's Day. 
My inspiration came from WhipperBerry.

I decided to add a black frame so the reds wouldn't blend so much.
 I found an old 11 x 14 frame, yes, in my basement. 
It was a little beat up, so I spray painted it glossy black. 

Here's how I did it. You'll need the following supplies:
  • about a yard of burlap (any color will do)
  • hot glue gun (with lots of extra glue)
  • scissors
  • styrofoam wreath (any shape you desire)
I just happened to find this red glittered heart shaped wreath at Hobby Lobby. If your wreath isn't the same color as the burlap you are using, you might consider spray painting it so everything blends nicely. 

 Cut the burlap into 5 x 5 squares.
 Fold the square in half.
 And then fold it in half again.
Then round around the three corners.
Cut the corner off. And add a pretty decent amount of glue and stick it to the wreath. 
 Continue to do the same thing around the whole wreath.
 It will start to look like this.
The completed wreath!
Thanks for visiting!

Monday, January 24, 2011

Subway Art

You've gotta love these cute Valetine Subway Art
created by the girls at Eighteen25 
Hop on over to their blog and you can 
download and print one for yourself.

Simple Spring Wreath

If you've got 7 minutes and a couple bucks, you too can make this Simple Spring Wreath! You'll just need a couple supplies fr...