Saturday, October 9, 2010

Candy Corn

Everyone loves Candy Corn at this time of the year.


So when I buy it, I have to hide it. But I like to decorate with it and put it in a cute jar or vase and tie a festive ribbon around it. 


And then the Candy Corn starts to disappear. 


Oh well... I found a way to make Candy Corn last forever...


I crafted up these adorable Candy Corn earrings & necklace for my girls.


They really take no time to make. And it's a good excuse to get the drill out again (yes, you need a drill for this project!)  I can't take the credit for the idea, I frequently visit Eighteen25 and saw the idea. For all the detailed directions, go here.

Wednesday, October 6, 2010

Nashville

We took a spontaneous trip to Nashville a couple weekends ago. 
I made a little movie of the clips from our trip. Enjoy!

Hey Kids, Look what Mom made while you were at school today!

I saw another great project at Ana White's website and I had to try it.
See the plans here


So I found myself a FREE wood pallet (actually pulled it out of a dumpster this time!) And I went to work cutting the boards down to the right size. I had to make slight adjustments because several of the boards were broken and unusable. I used new wood for the sides, and jigged-out some handles.

I also added caster wheels to the bottom per Ana's suggestion.
 I think this would be great for storing shoes, recycling, toys and just about anything else! 


I just had to put another picture in of my cute little model.
Thanks for your help Katelyn!

Tuesday, September 28, 2010

Mac Movies

You might think that this has turned into some sort of carpentry blog with all the building that I've been doing lately. What happened to the sewing? How about the scrap-booking, stamping and other various crafts? Well, frankly, I don't know what happened either. I'm sure I'll get back to that stuff. But I got an iPhone 4 for my birthday and my first Mac so my friend convinced me that I need to start making movies. So I went over to her house for a personal tutorial and here's my movie!

Tyler's Desk

After a year or so of making skirts and dresses for my girls,
I finally figured out something I could craft-up for my boy.
A desk! (See plans here.)

Thus, following many hours of doing his
homework on the floor of his bedroom,


It was time he graduated and had his own desk. 
Hand-made by me, especially for him!


First, I read through a couple tutorials on staining; and I decided to try a Gel Stain by Minwax, color - Antique Walnut. I hated the results, mostly just a dissatisfaction with the resulting shade, plus I had spent a lot of time rubbing on the stain...by hand...with a cloth. That's tough to do all getting into the tiny little corners. The only good thing about Gel Stain is that its non-drip. I think this product might work better on a piece of furniture that has previously been stained and just needs a little pop.  I went back out and bought a stain-polyurethane in one, PolyShades by Minwax, color - Cherrywood. Much better, although there is dripping involved. And you cannot keep rubbing on the stain since there is polyurethane involved. After several coats, and sanding in between, I was very pleased with the outcome and insisted that Ben help me move it into Tyler's room that very night, so he would be surprised when he woke up. 

I left him this little note (along with a note I found from Katelyn):


The final product:


I decided to put a cork board back on the lower part of the desk hutch. I was so proud of myself for trimming it out. This required me to use lots & lots of measuring (over & over) and utilize the miter saw. For this project, I pulled out all the goodies we have in the garage: circular saw, jigsaw, drill, tape measure, wood glue, wood putty, square, level, nails, counter sink bit, nail sinker, screws and a pencil. Too bad my cuts weren't even (but you might never know if you don't look close, so don't look close!) Oh, and I think I need a table saw!


I love you Tyler! Enjoy your new desk!


Wednesday, September 8, 2010

Pallet Shelves

So Ana at Knock-Off Wood makes carpentry look so easy. 
I decided to try my next project out of free wood. Pallet wood as a matter of fact.
Sometimes I get SO excited about trying new things, I can't wait to get started.
So here I am just back from the pool cutting up the pallets.
I made this shelf out of totally FREE wood! As a matter of fact, I might have pulled the pallet out of a dumpster in order to make this shelf. I love the unfinished Rustic Look. 

They also look really cute painted.
Which is what I did for my kids and hung them above their bunk-beds in the cottage.
Each of them have a different color.
Yes. I have three children. But only two beds were made. So that's all you get to see.

Saturday, June 12, 2010

The Rustic Farm House Table

I was telling my good friend and neighbor
that I needed to find a dining table for the cottage.
So she says to me,
"Why don't you just build one?" 
Sure, right.
But as I walk away I start to think...

The wheels wouldn't stop turning. I started to scroll through plans for the Knock-off Wood's "Salvage Wood Farm House Table". I didn't like the legs so much. But was inspired by this table, and I decided to go on a search of some table legs, as a starting point.

My daughter and I headed to a flea market and found us a table for 20 bucks.


Then I went and got me some wood, cut by Rich, at Lowes,
for specific Rustic Table measurements. Thanks Rich!


Armed with a power drill, long screws, my new countersink bit and some sandpaper, I went to work.


A close-up. Couresty of my son.


Some cross-slats would support the boards that create the table top.


My friends stopped by (with their kids) and joined in the fun
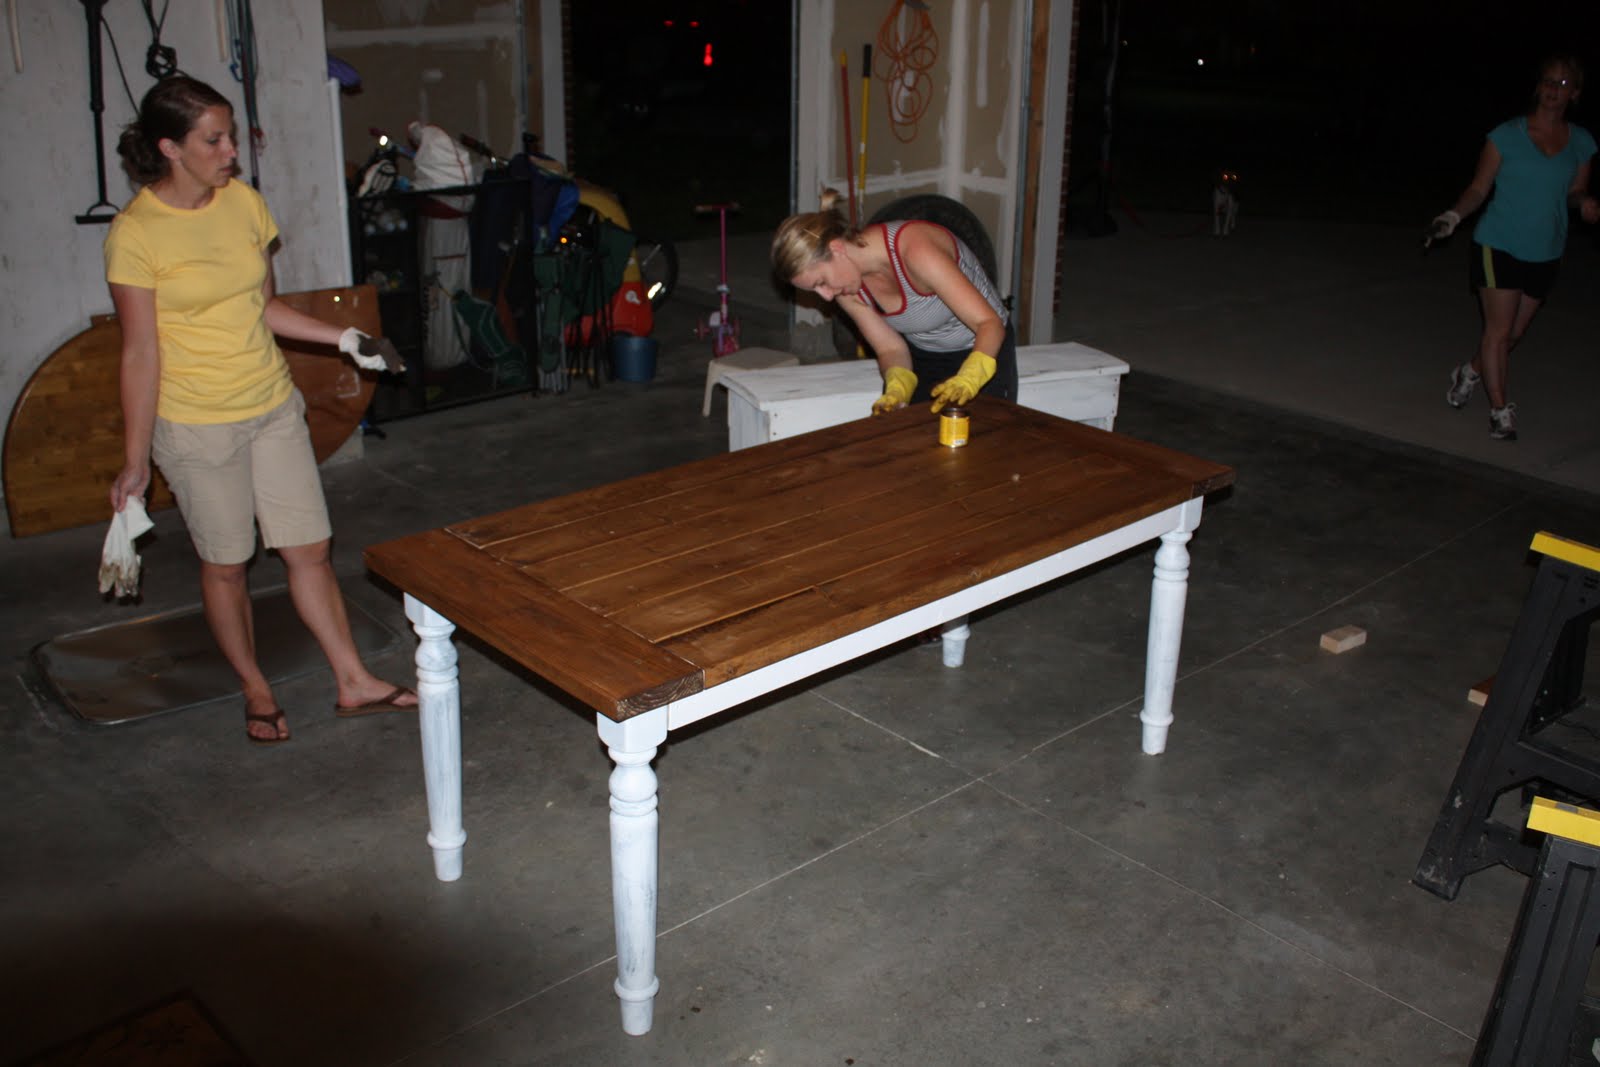
of distressing the wood using forks, screws, washers and girl power.


While we worked, our children (9 of them) played in the back on the playset-turned-waterslide, and on with a slip-n-slip, snacks, drinks, water balloons, games, music and self-appoined lifegaurds
(not captured very well in this picture, but I was eager to get back to the distressing).


After attaching the legs, with the help of my husband, and making dinner (not a "real" dinner mind you; pizza for the second time that week). My friends were back to help out with the staining.


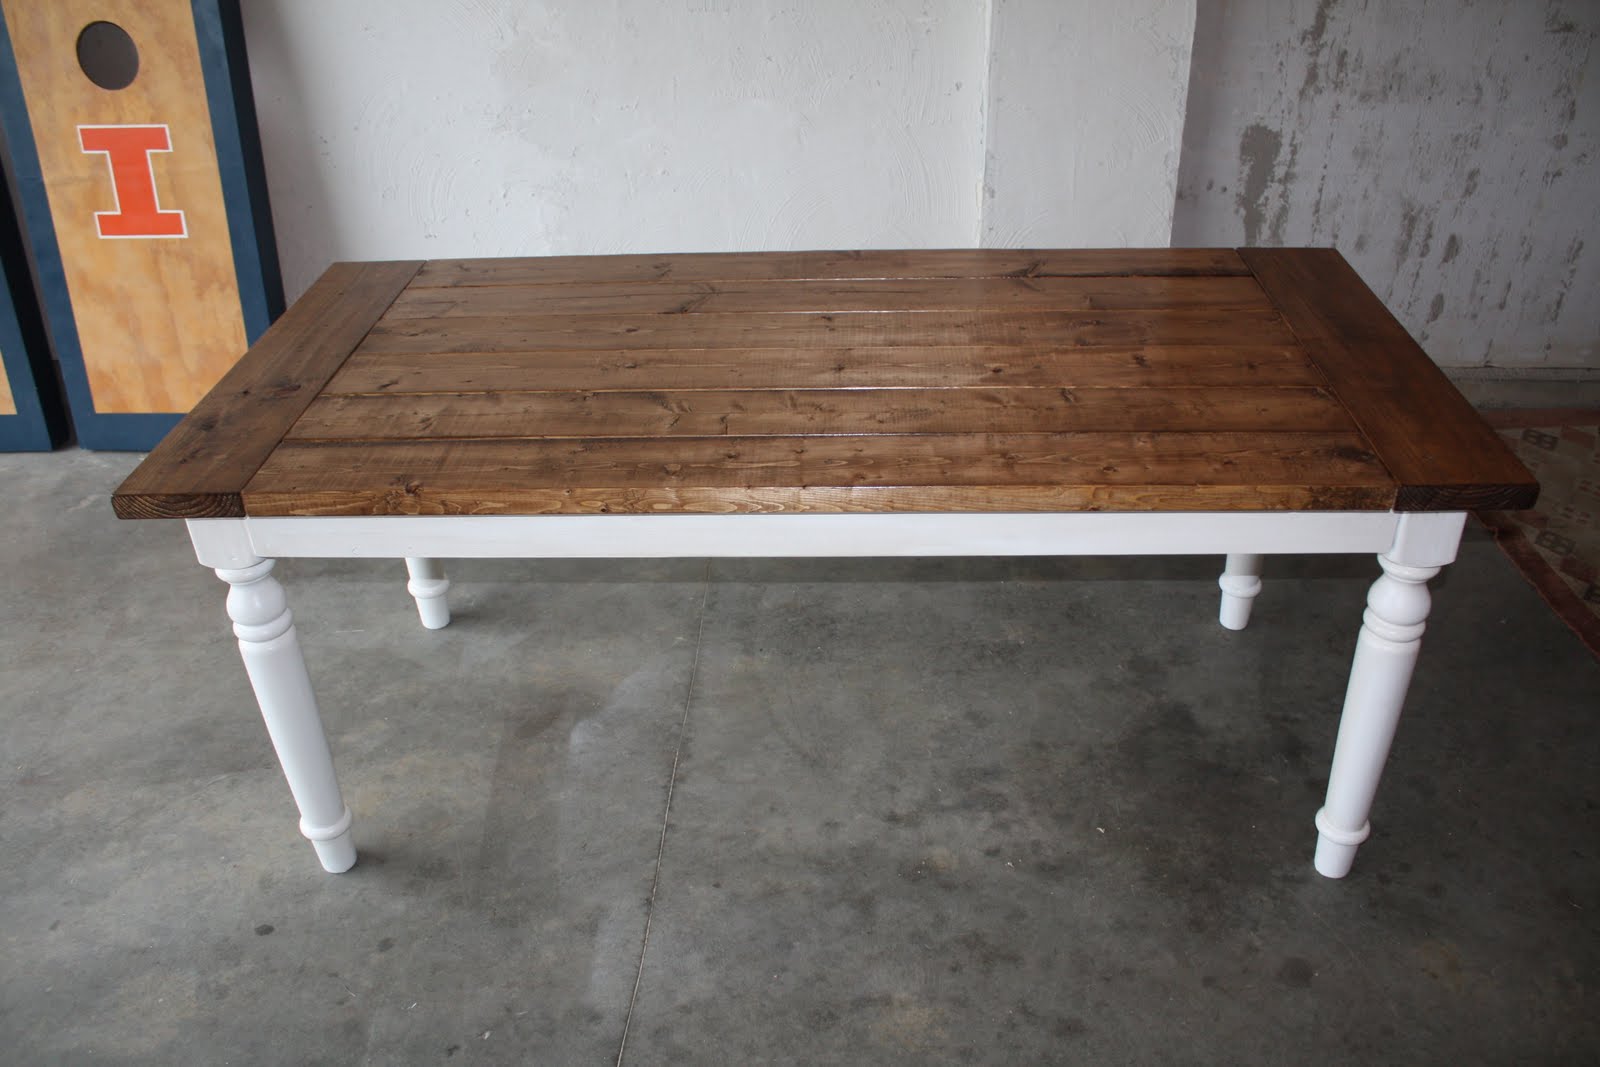
And now: presenting my hand-made Rustic Farm House Table!


I can't wait to get this in the cottage! I'll blog about the bench some other time.


Head over here to see the table in my cottage! We love it and it get a lot of use!

Simple Spring Wreath

If you've got 7 minutes and a couple bucks, you too can make this Simple Spring Wreath! You'll just need a couple supplies fr...