Friday, April 27, 2012

French Memo Board

A very special girl turned 9 just the other day. 

Her parents redecorated her room for the big day. I was honored to be a part of the process and helped with some painting, sewing and crafting up a couple accessories like this memo board.
This project is so easy and I'm going to show you how I did it! I started with the following supplies:
 4-pack of Cork Tiles (found at JoAnn's)
 Gross-grain ribbon, buttons, fabric scraps (enough to wrap around the cork)
 Start by cutting 4 pieces of coordinating 13 x 13 squares of fabric.
 Cutting 4 pieces of batting into 12 x 12 squares.
 Layer the fabric, batting and cork.
 Flip upside down so the fabric is on the bottom now.
 Add hot glue around the edges...
 Fold the fabric over the hot glue (quickly before it dries!)
 Fold the corners so that its nice and tight.
 Do this for all four cork tiles.
 The next step is adding the ribbon. 
You'll want to get out your tape measure now and mark 6" down on each side.
 With a little dap of hot glue I adhered the ribbon like this. 
I forgot to take a picture of my next step, but basically 
I added more ribbon around each corner so that it looks like this.
At every point where the ribbon meets (except on the edges)
I sewed on a button (using some thick thread and a sturdy needle).
The cork tiles came with sticky adhesives. 
I used them to attach the cork tiles to a large piece of cardboard.
 And then I used a couple of those great 3M sticky tabs and attached them to the top of my cardboard.
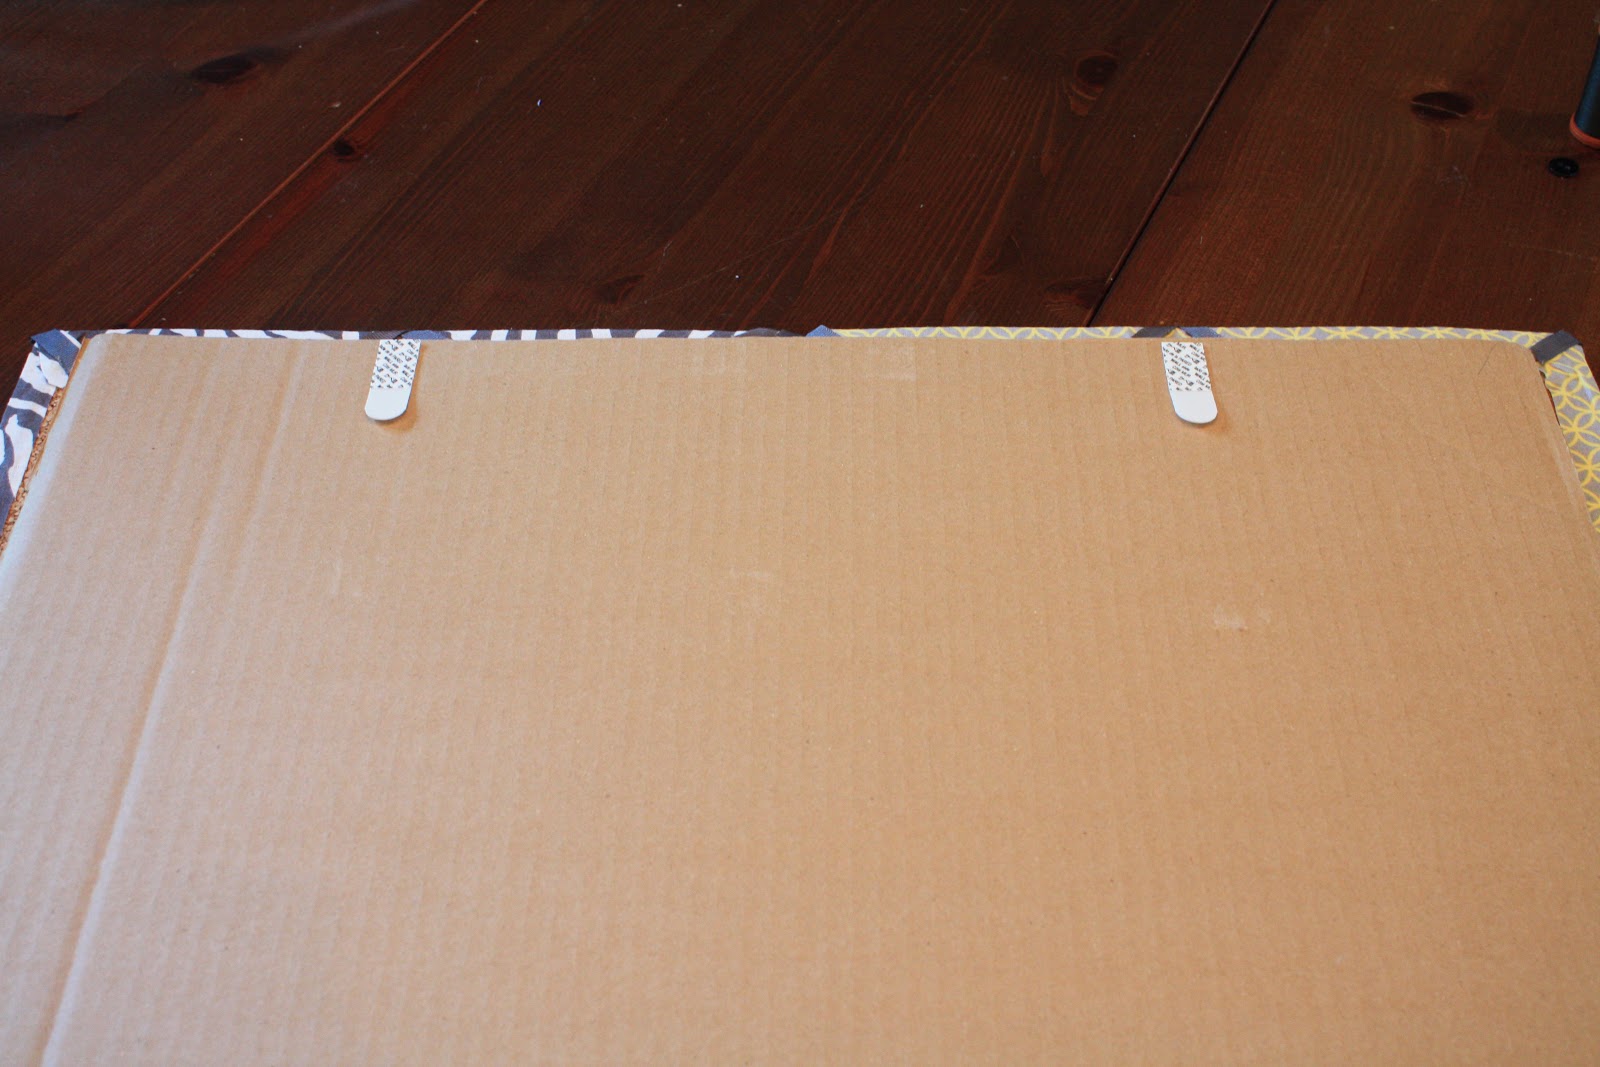
 After hanging it on the wall I realized that I could have used two more at the bottom as well.
The four fabrics coordinate with some throw pillows we made for the bed and her window treatment.
The birthday girl at her newly refinished desk! 
(I also made her the calendar blocks that you see pictured behind her).
Kate and I and after a day of sewing and some shots of the newly redecorated room. 
Happy Birthday Eden!

Thursday, April 19, 2012

Rolled Flower Necklace

If you were here last week you saw my tutorial on my new scrap fabric rolled flowers. 
I took it one step further and made myself a necklace.
 I started with three smaller size flowers. These are about 1 1/2 inches in diameter.
You'll need some felt (any color will do), scissors, jump rings and...
Some chain, smaller jump rings and a lobster clasp.
 I used a lid for a template when cutting my felt backing.
 I traced around the bottom half of the lid to get a half moon shape.
 Or maybe it's more like the mouth on a smiley face :)
 I hot glued it the back of my rolled flowers without allowing any space in between.
I trimmed the felt a little bit so none of it would be seen when you turn the piece over.
 I hot glued a jump ring on both sides.
 Attached the chain and the lobster clasp.
 With the new color block trend, I've got the perfect accessory for my spring and summer outfits!

Thursday, April 12, 2012

Rolled Fabric Flowers

After a couple of years of sewing, I've found that I have lots of cute fabric swatches. 
And if I don't want to end up like my mom (who needs a storage unit for all her extra fabric!)
 It was time to get busy creating a use for it.
I went a little nuts... I think I have a flower for any and every occasion.
Don't they go great with my newly painted nails?!
Want to make some? Here's what you need to get started. 
A strip of scrap fabric (mine are generally 2" wide and 34" long-but really any size will do). 
If you going to make them for your flip flops, you'll want to cut two strip of the same size and length.
Start by tying a knot at the end of your fabric.
With the hot glue gun in hand put a little on the knot and 
start wrapping the fabric around the knot (gluing all along the way).
You'll start to create a little rosette center.
Continue to wrap the fabric around using the hot glue all along the way.
I sometimes twist my fabric all the way around. This creates that tattered look.
I also continue to press the center down so that the flower is nice and flat.
When you get close to the end of your fabric 
you'll what to take the "tail" and adhere it to the back of the flower.
Like this:
Don't worry if the back of your flower looks a little messy, you'll be covering it up with felt.
You can use any color felt (the cheap little squares work just fine) 
and cut out a circle the size of your flower.
Add some hot glue.
And adhere it to your flower.
I add a hair clip and a pin to the back of each flower.
So what to do with all these cute rolled flowers? Here's a couple ideas:
Jazz up a plain pair of flip-flops.
I added some to my beach hat.
Added a couple more to my new beach bag.
 The clip makes it really easy to slide onto a headband.
Or simply as a hair clip.
 I love the embellishment on a hat!
Or a couple on a jacket.
I'd love to what you do with yours!

Simple Spring Wreath

If you've got 7 minutes and a couple bucks, you too can make this Simple Spring Wreath! You'll just need a couple supplies fr...