Saturday, April 30, 2011

Eyelet Lace Summer Tank

Yea! It's almost summer! 
I saw this adorable white eyelet lace tank top at Target,
 a part of their new Disney "Sonny With a Chance" line. 
I immediately loved it for Sidney.
I already had some eyelet trim at home,
so why not just make it!

Here's how I did it:
I found this plain white ribbed tank top at Walmart for $3.00
 I decided to buy a couple more yards of two other styles of eyelet lace, 
so that I had three different types. 
I cut the lace to a length 1 1/2 times the width of the shirt and then gathered each piece of lace.
I sewed the first piece of lace along the top edge of the shirt. 
First I measured 1" from the stitch and then pinned the next piece of lace in place.
 You want each piece of lace to overlap a little so you don't see the stitching and trim.
Sidney asked that I sew down the lace on the sides, 
I think I like it this way better too.
All set for summer!

Thursday, April 28, 2011

Revelation Names

I just finished an amazing study on the Book of Revelation by Beth Moore called 
"Here and Now, Then and There" You can see a promotional clip here.

I created this Subway Art with all of the names of God that are listed in the book of Revelation. Some of the ladies in my group requested copies and I wanted to make it available to you too!
If you'd like to download my Revelation Names (great for printing in 5 x7, 8 x 10 and 16 x 20) go here
I like to print my poster size prints at Costco. Make sure that you go to the cropping screen and make sure that the Subway Art fit's in the red box (you'll understand what I mean when you get there).

Tuesday, April 19, 2011

Chevron Painted Rug

Chevron stripes are all the rage
and I was dying to put to do them on something. 
A painted rug seemed to be the perfect place to start.
I found a 4 x 6 Sisel Rug at TJ Maxx for only $10.00!
I cut out a couple Chevron stripes with my Silhouette 
(my husband thinks you should know that you don't really need a Silhouette to make a Chevron stripe). 
I needed it to be pretty big. So I cut it out a couple times and then taped it together.
 Then I taped around each stripe. 
And burnished down on the blue tape so no paint would bleed through.
 I used some semi-gloss paint (this beautiful blue came from my friend's kitchen) 
and a couple of foam brushes.
 And then I went to work "dabbing" the blue paint in my taped off section. 
This took me a while. But it was a good work-out for my arms!
 Adding lots of paint to seep in between all the groves.
The paint seemed to dry pretty quickly.
As I peeled off the tape my Chevron stripes were revealed.
I love the way it turned out!
The perfect compliment to all the new things in my laundry room.
Check out these links for other Chevron stripe creations:

Tuesday, April 12, 2011

I'm a Guest Blogger!

I'm so thrilled to be featured on Craftaholics Anonymous!
I inspired by so many crafty women out there in the 
blogging world and Linda 
over at Craftaholics Anonymous is one of them!
 I love all Linda's great ideas and 
the ladies she features on her blog.
(Remember those zipper flowers? Linda's idea!)


Tuesday, April 5, 2011

Laundry Room Makeover

After only a short couple of days my laundry room has been transformed. And I love it!
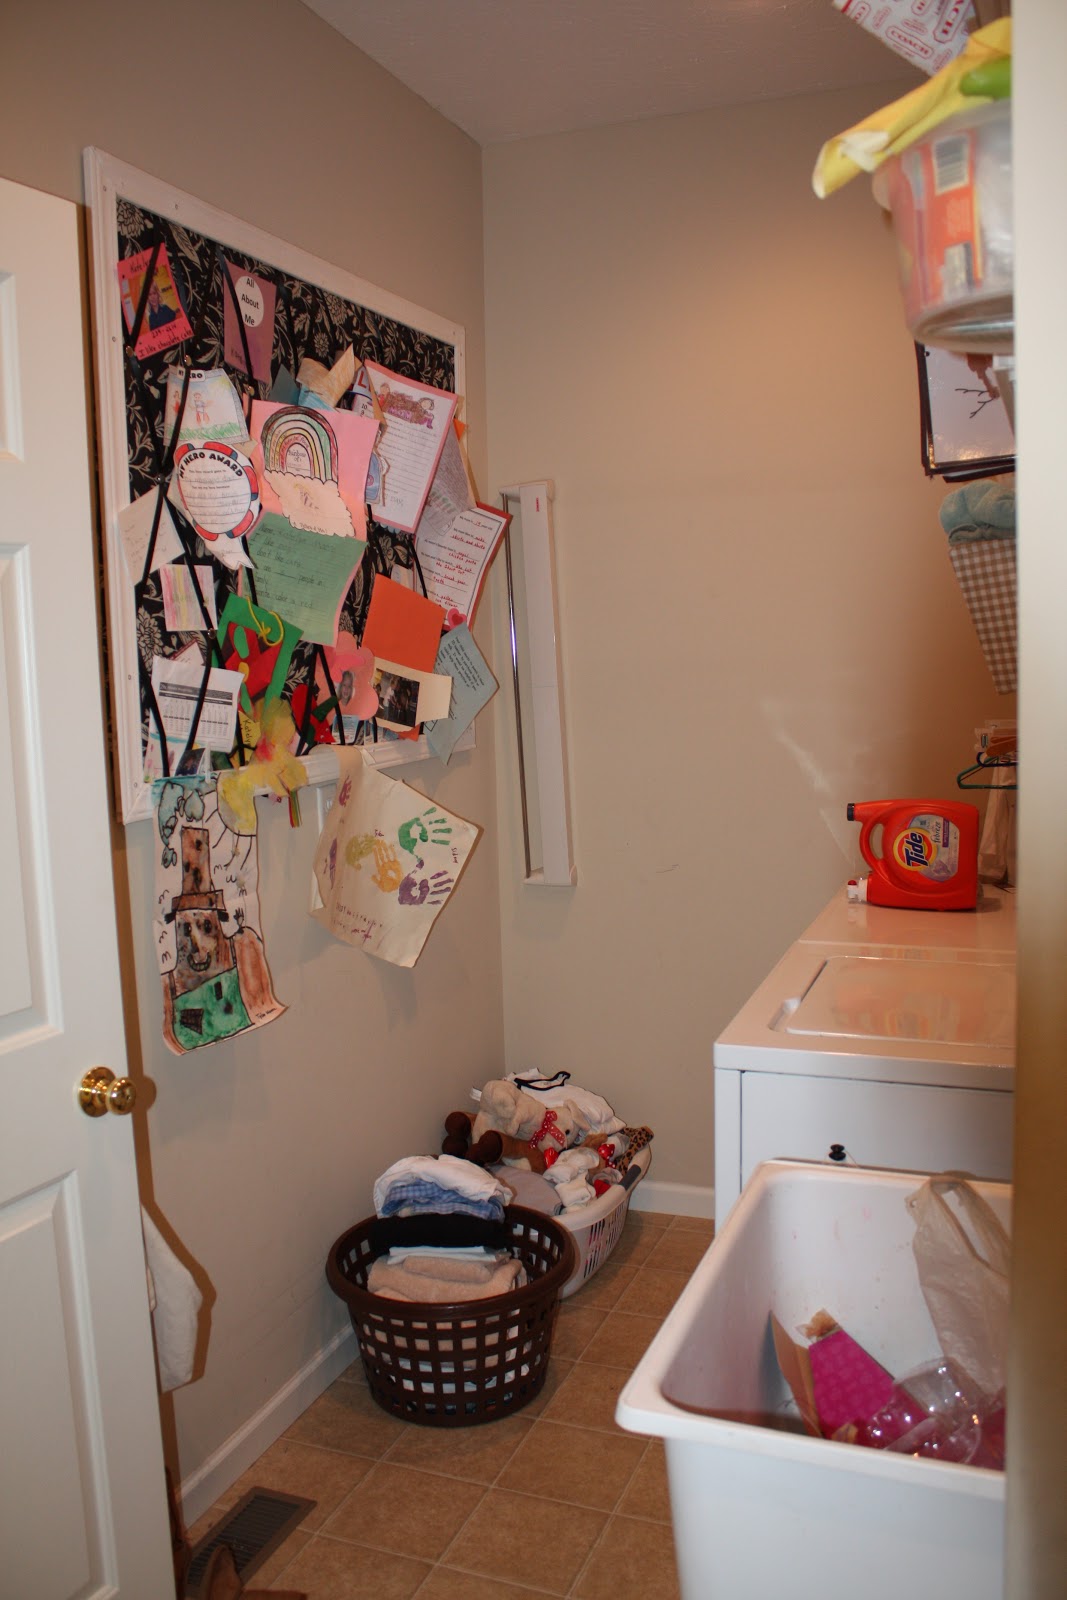
Here's what I had to deal with before. 
I'd had enough of the ho-hum dumping grounds of a laundry room.  
 When entering the house through the garage, you had to go through this:
UGH!
I got to work painting the walls
(I found almost a whole gallon of chocolate brown paint in my basement), reorganizing some of the things that needed to stay in the laundry room, and purging the rest.
I love having a utility tub, but it's really not that attractive...
 ...until now!
I had made this super-size message board after we first moved in, almost 5 year ago. 
So I cleaned it up a bit (took down about half of the junk I was storing up there!) 
And then added the rick-rack detail around the frame.
I also used my new Silhouette to print the vinyl letters 
"The Laundry Room. Loads & Loads of Fun."
I found this Giant "M" at TJ Maxx and had it displayed in various places in my house before it found it's home in here. 
I painted it white and then distressed the edges (everything is better distressed!) 
The verse in my frame is Deuteronomy 6:1-9. 
It's what I want to be reminded of when I'm in here.
 Some more cute-sy details. 
The little pot is holding the Tide stick and Grandma stain remover.
The clothes pins are for hanging important things on the message board.
I found these cute vintage prints from Better Homes & Gardens 
and the frames are from IKEA ($1.99!)
I had some cloth baskets already and found a couple more to help fill up the space.
 Everyone's gotta have one of these basket's in their laundry room:
The burlap skirt on the utility tub was pretty simple. 
I was inspired by Rhonda's at Blue Creek Home
Here's how you can make your own:
  • You'll need
  • Burlap
  • Burlap Webbing
  • Sticky-back Velcro
  • Accent Fabric (for the bottom of the skirt) Ribbon can be used too.
  • Glue Gun
  • Thread

  1. Measure the distance around the tub and double it. That is the amount of fabric, or burlap in this case, you'll need. 
  2. Measure the distance around the tub and that's how much burlap webbing you'll need. 
    • I used 4 yards of burlap and 144 inches of burlap webbing. 
    • Burlap and webbing can be found at Hobby Lobby and JoAnn's.
  3. Measure the distance from the top of the tub to the floor and cut the burlap accordingly. Zig-zag stitch along all ends of the burlap to prevent fraying).
  4. Use a long running stitch to create a gather along the top of the burlap and sew to the burlap webbing.
  5. Cut sticky-back velcro according to sink size. Attach one side to the sink
  6. Sew contrasting fabric or ribbon to the bottom of the burlap skirt (mine is about 4" wide)
  7. Glue the webbing to the velcro (your needle on your machine will not like going through the sticky-sticky glue on the velcro. I learned the hard way!)
  8. Attach the skirt to the sink.
  9. Step back, take a look and give yourself a pat on the back
When the make-over was almost complete I decided I needed to make Ana White's Rustic Bench.  

You may be asking yourself some of the same questions my husband was asking me, "why do you need another thing in that tiny room!" I made it for a couple of reasons:
  • I needed to build something again!
  • I could put the laundry baskets on the bench for easy reach and out-of-reach of the dog (who likes to eat socks & underwear!)
  • I thought I needed another cute-sy detail for my new favorite room!
 Remember how I said everything is better distressed? 
So after painting a couple coats of black... I then sanded half of it off. 
 Thanks for stopping by. 
Now off to do some laundry!

Simple Spring Wreath

If you've got 7 minutes and a couple bucks, you too can make this Simple Spring Wreath! You'll just need a couple supplies fr...